Building an API Documentation By Interacting With a Web App
Aug. 24, 2026

As I continue testing web apps, especially APIs, it is no surprise that not all of them come with an API specification document. And when they do, it is often incomplete, out of date, or documents three endpoints while the application talks to more undocumented ones.
So what do you do when you don't have the API doc?
In this article, I will walk you through the two methods I used to reverse-engineer an OpenAPI specification by interacting with a web application. The first is the manual Postman route, and the second is a proxy-to-Swagger pipeline that does most of the work for you. I will cover every tool involved, what each one is, and how to set it up on Kali, and then I will use crAPI as the target to show both methods in practice.
1. The Tools
1.1 Docker and Docker Compose
Docker is a containerization platform that packages an application together with everything it needs to run. Docker Compose sits on top of it and lets you start a whole stack of containers, databases, message queues, and web servers from a single YAML file.
crAPI is not a single application. It is a collection of services: an identity service, a community service, a workshop service, a chatbot, a gateway, Postgres, MongoDB, and a mail catcher. Wiring all of that up by hand would be a full day of work. Compose brings it up in one command. It also keeps a deliberately vulnerable application isolated from my host, which is where it belongs.
I go into more detail on why Docker is the backbone of my testing environment in My Lab Setup for API Security Testing.
Setting It Up in Kali
            sudo apt update
sudo apt install -y docker.io docker-compose-plugin
sudo systemctl enable --now docker
docker --version
docker compose version
Compose needs to be version 1.27.0 or above for crAPI to deploy correctly. If you would rather not prefix everything with sudo, add yourself to the Docker group and log back in:
sudo usermod -aG docker $USER
1.2 crAPI
crAPI, the Completely Ridiculous API, is an OWASP project. It is an intentionally vulnerable application built around a car service platform, designed specifically to teach the OWASP API Security Top 10. If you want a refresher on that list before you start, I broke it down in Understanding OWASP Top 10 For API Security.
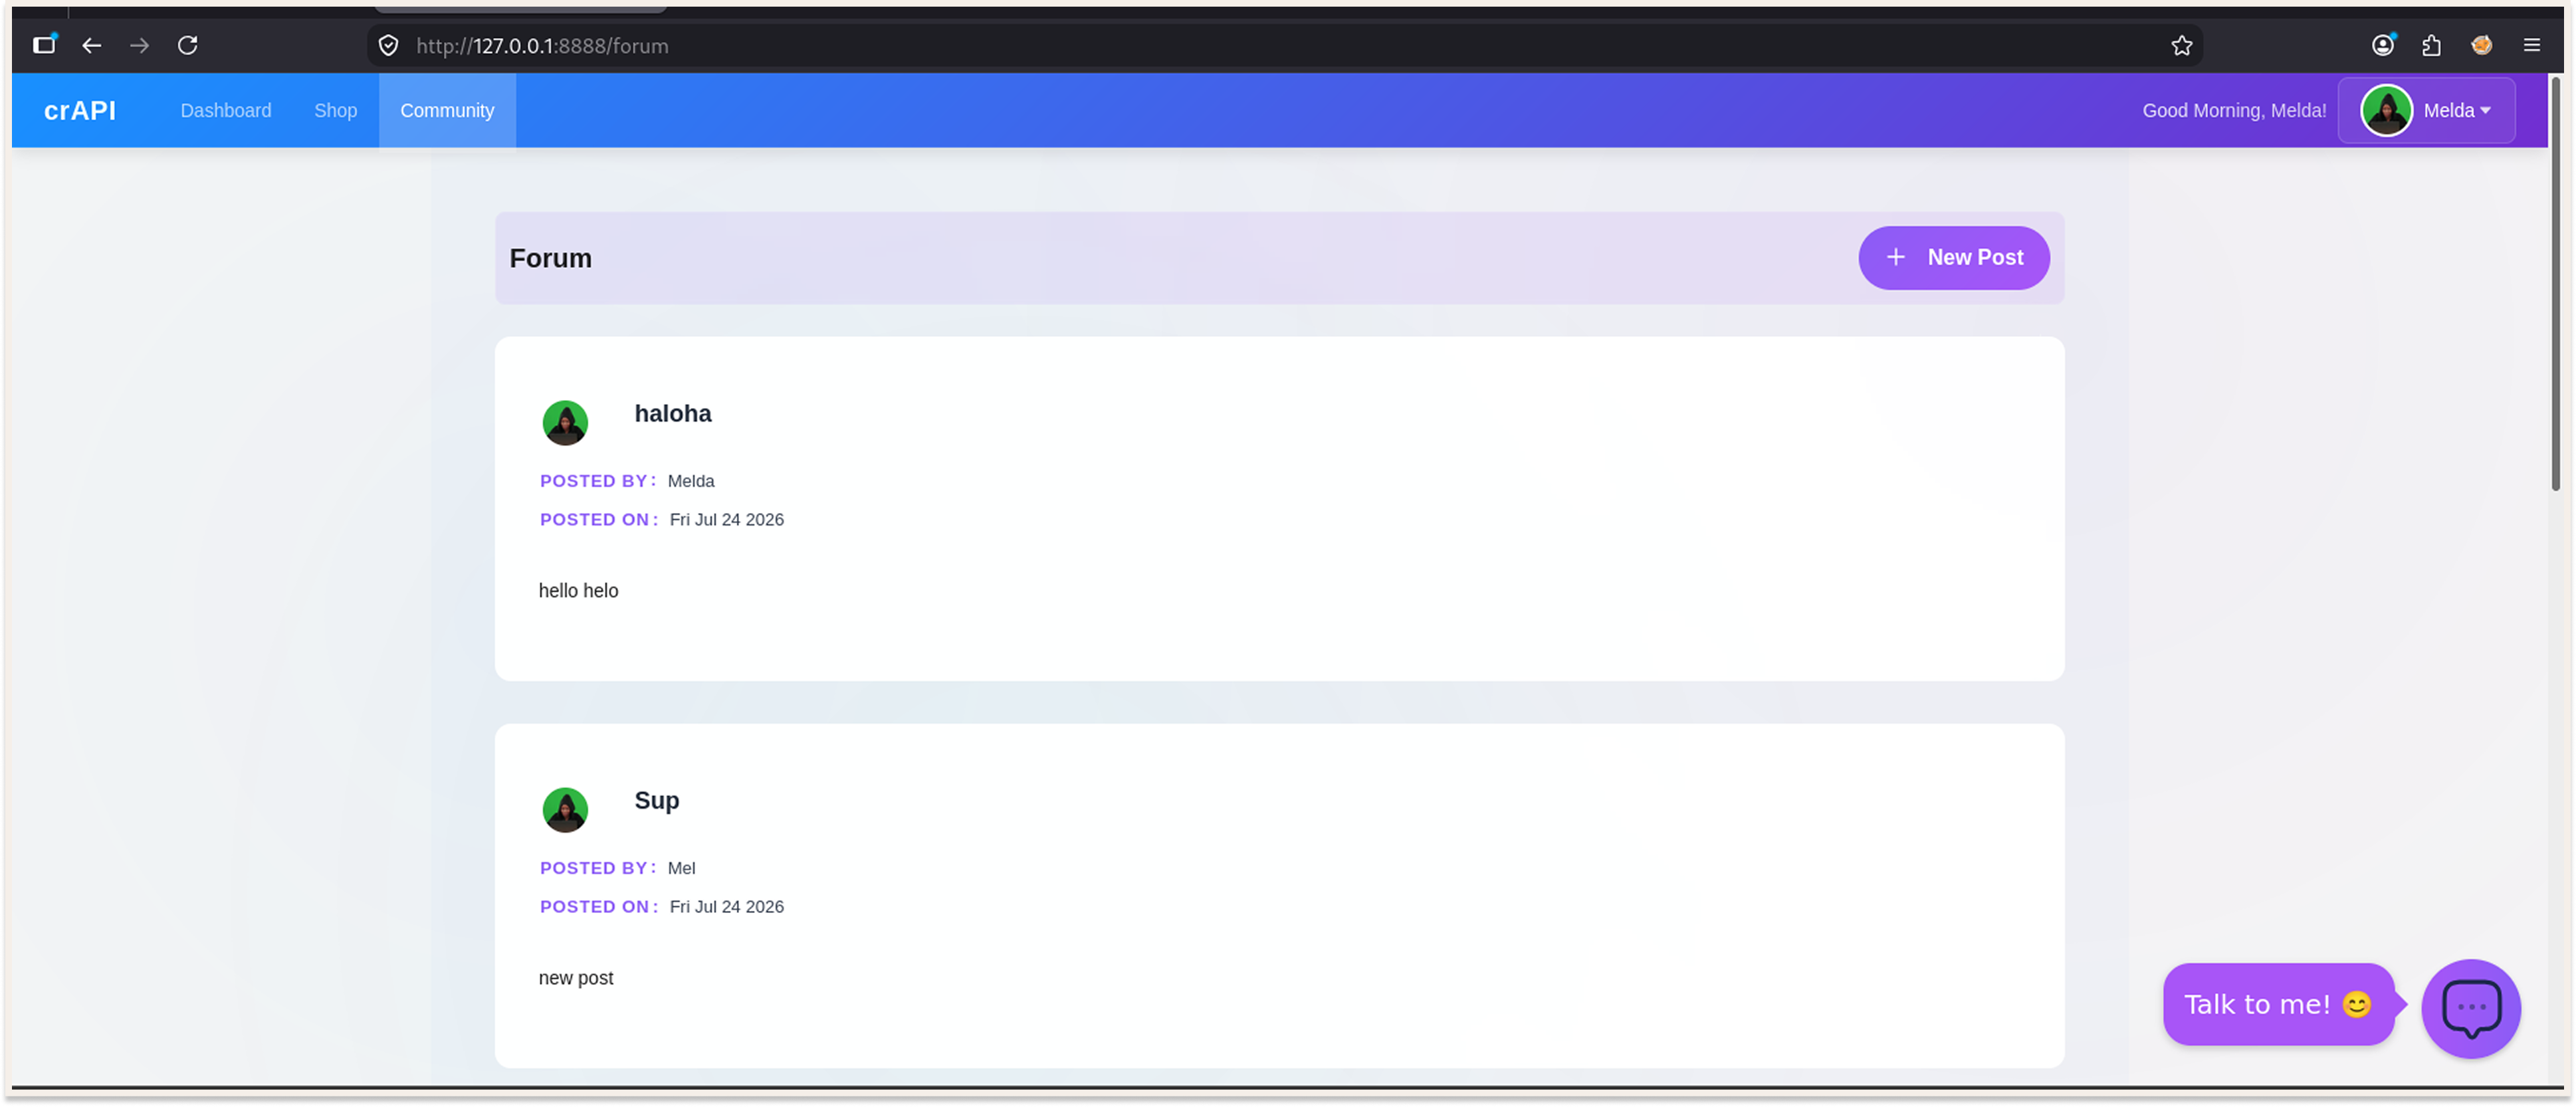
I needed a target with a real frontend that generates real API traffic, not a bare Swagger page. crAPI has a full web interface, a login flow, a dashboard, a shop, a community forum, and a mechanic workshop, so browsing it as a normal user produces a rich, messy stream of requests. That mess is the point. It is what you would get from a client application.
There is a second reason. crAPI ships with its own API documentation in the repository, so once I have reconstructed a spec from traffic, I can compare mine against theirs and see how much I missed. Not many targets let you grade your own homework.
Setting It Up in Kali
            curl -L -o /tmp/crapi.zip https://github.com/OWASP/crAPI/archive/refs/heads/main.zip
unzip /tmp/crapi.zip -d ~/Downloads
cd ~/Downloads/crAPI-main/deploy/docker
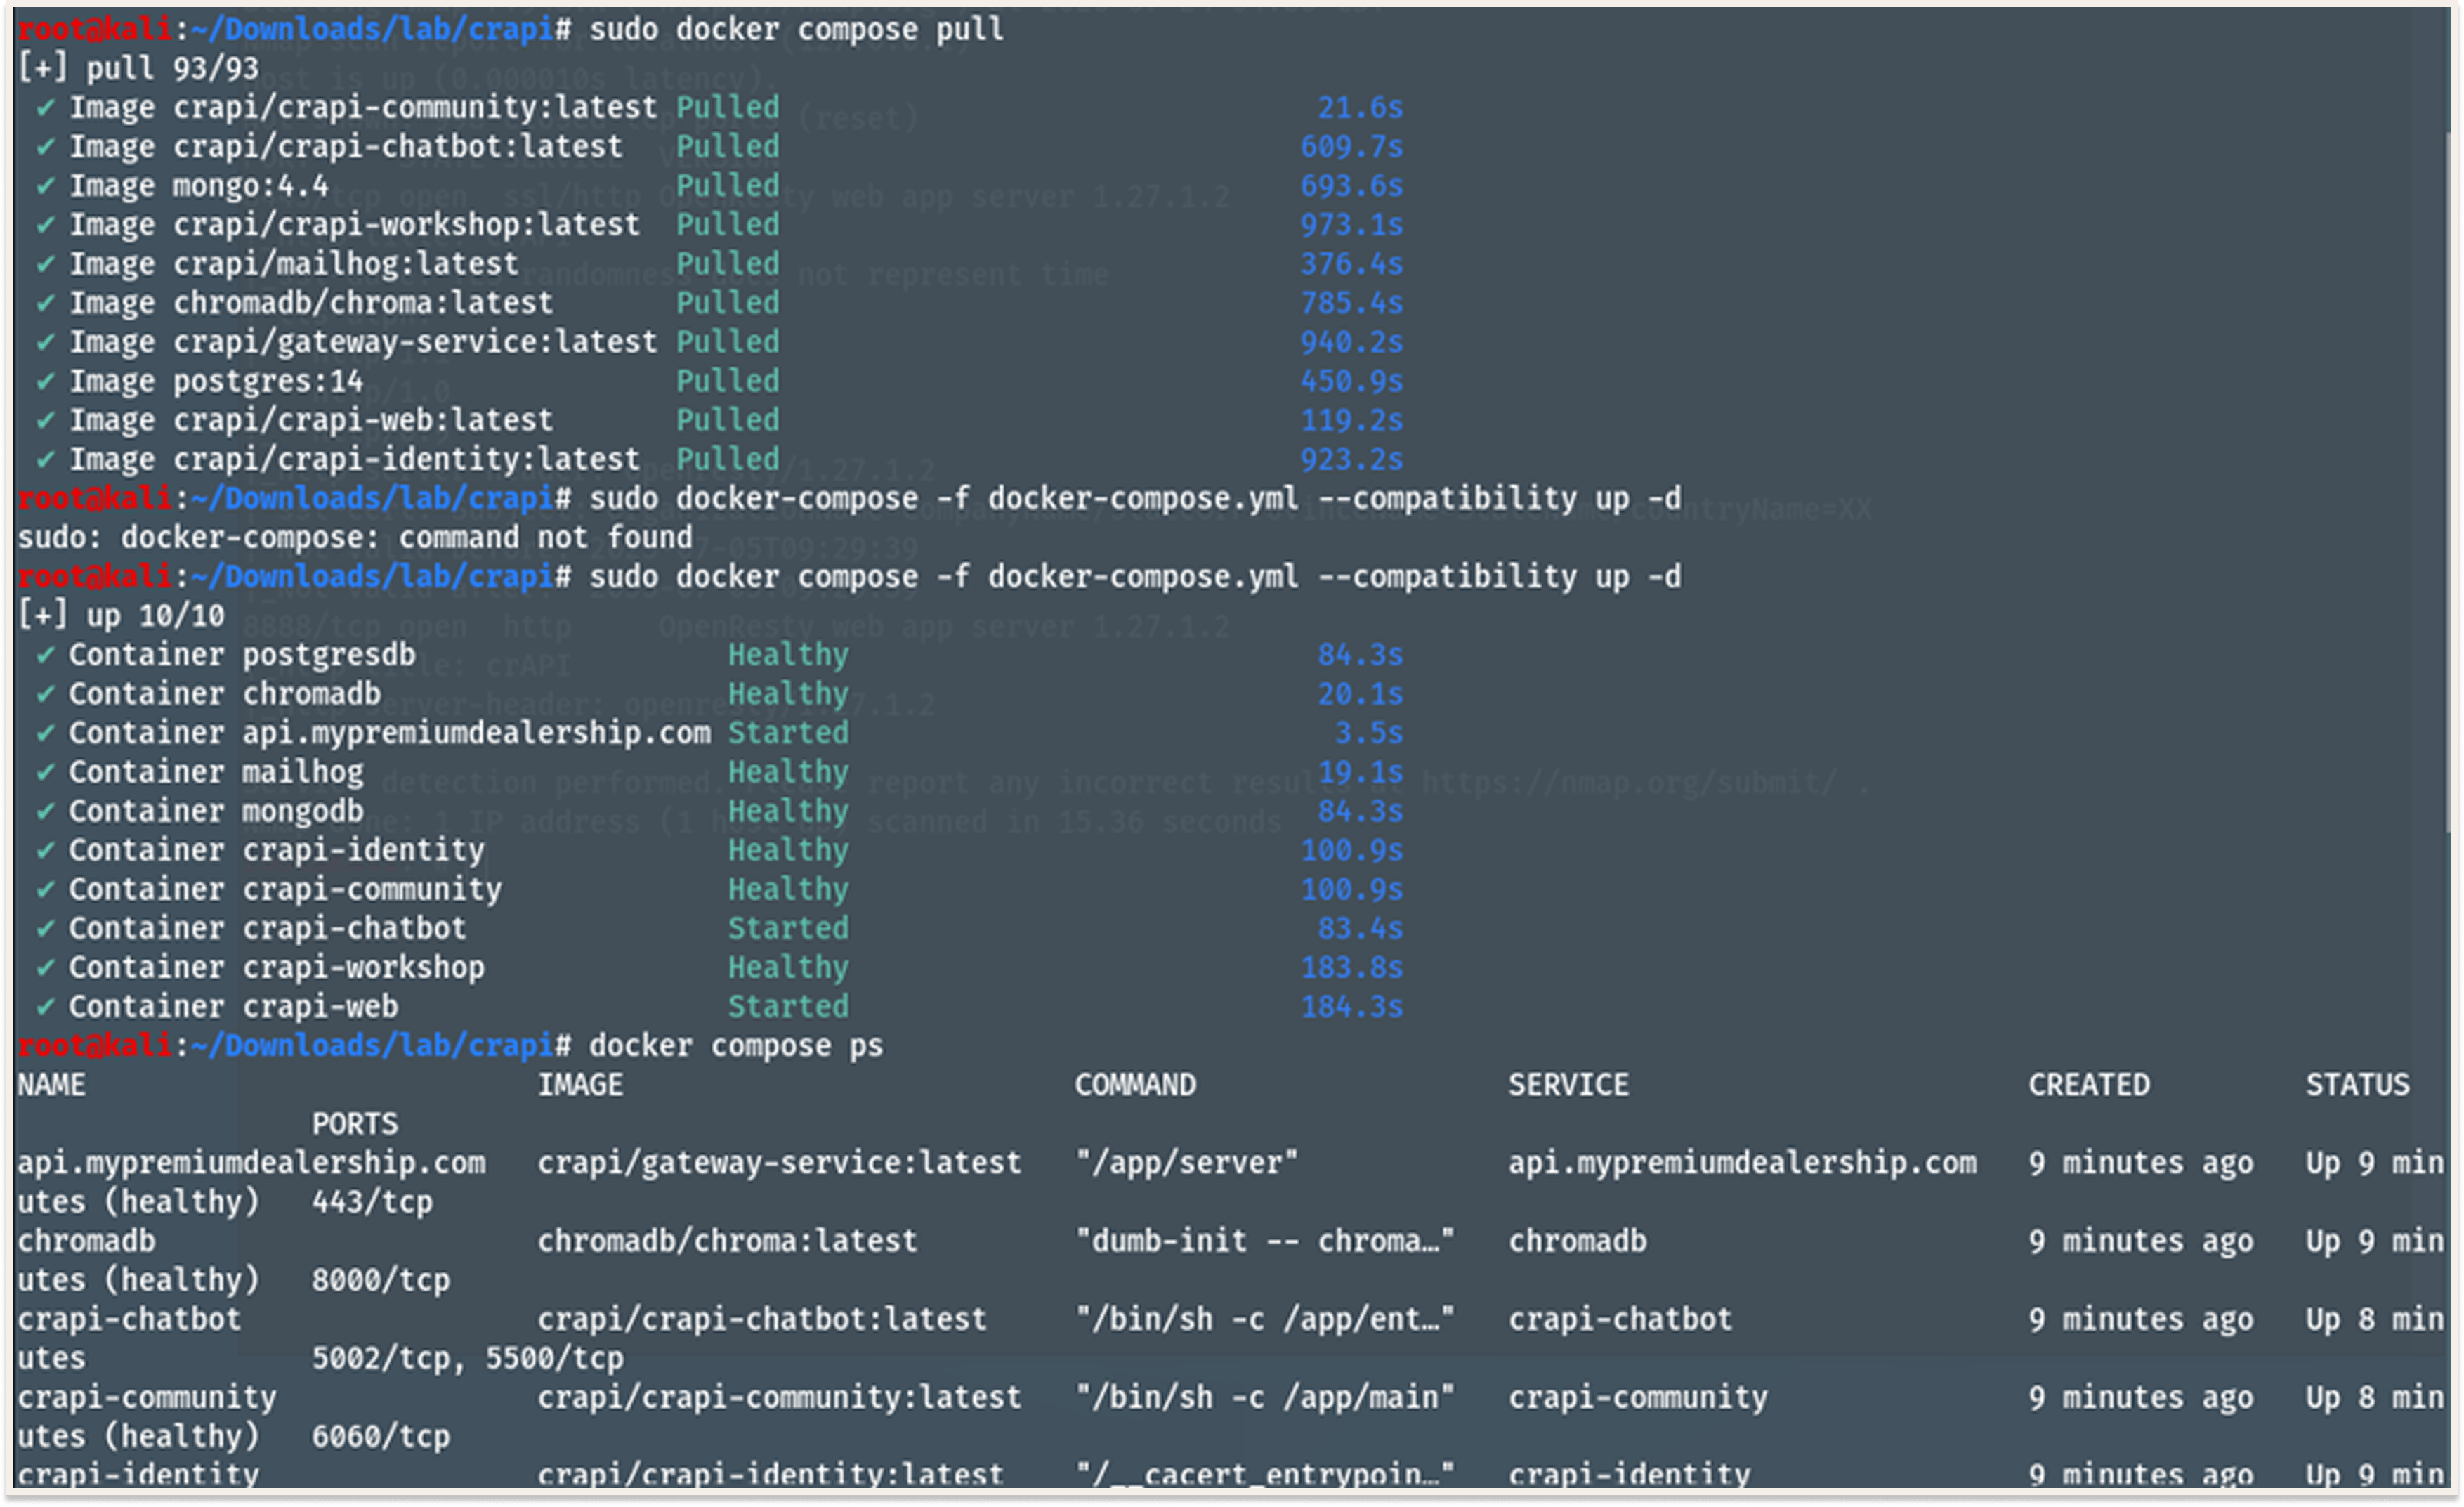
sudo docker compose pull
sudo docker compose -f docker-compose.yml --compatibility up -d
PS: If you type docker-compose with a hyphen and get sudo: docker-compose: command not found, you are on the plugin version. Drop the hyphen and use Docker Compose. I hit this myself on the first run, which you can see in my terminal below.
Check that everything came up:
sudo docker compose ps
Two things you need after this:
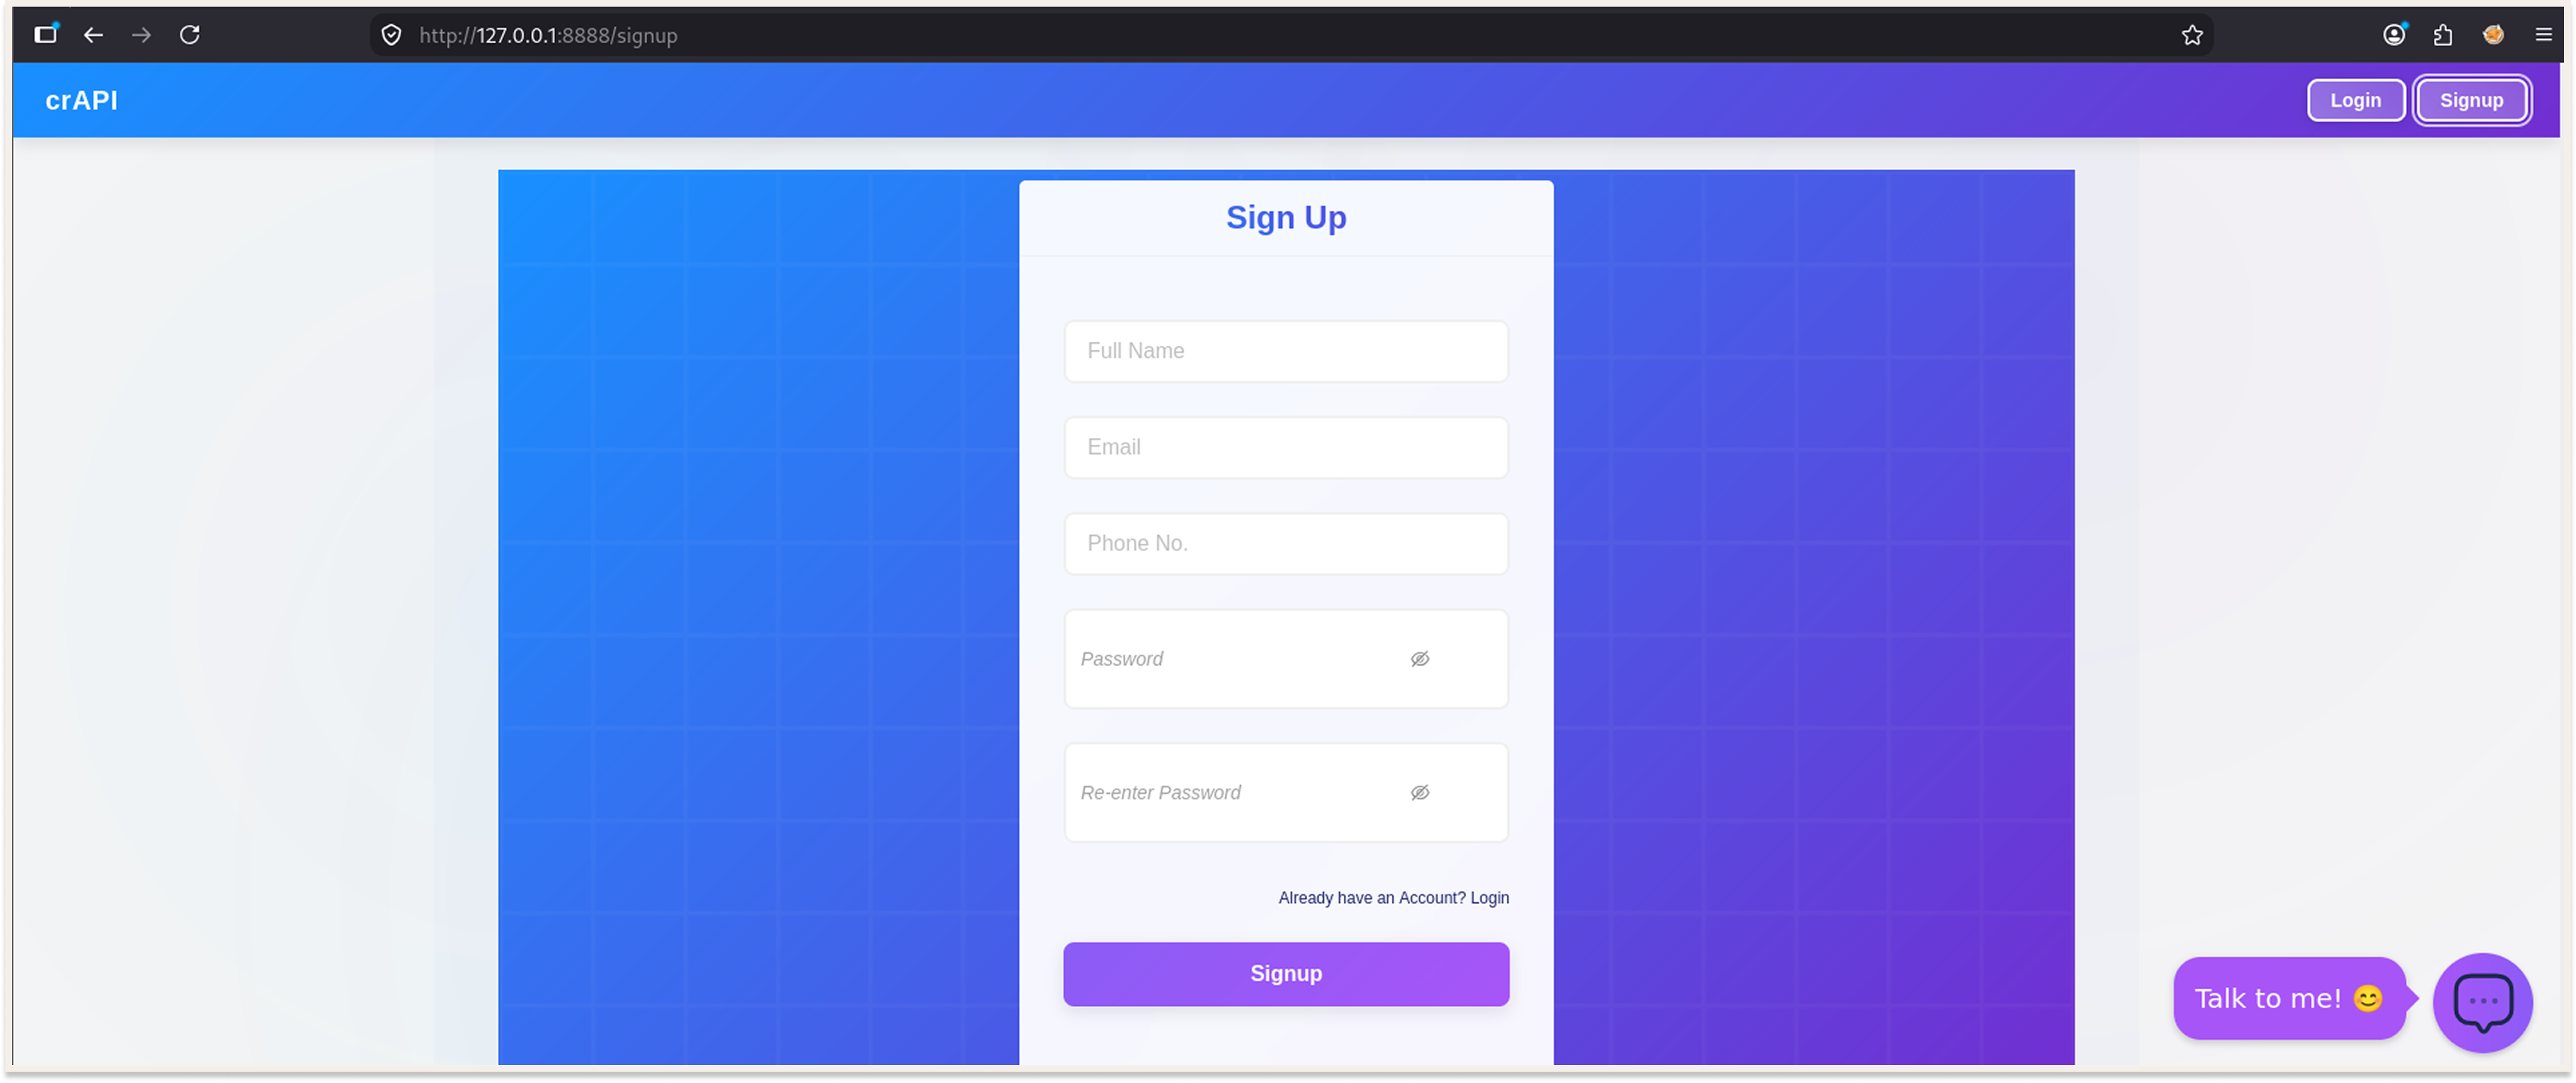
Port 8888 is the crAPI web application. Open http://127.0.0.1:8888 and you get the login screen.
Port 8025 is MailHog, a fake SMTP server that catches every email the application tries to send. crAPI emails you a verification token during signup, and since there is no real mail server, you go to MailHog to collect it.
Register an account at 8888, grab the token from 8025, verify, and log in. You now have a working session, which is essential. Traffic captured while logged out maps only to public endpoints.
1.3 FoxyProxy
FoxyProxy is a browser extension that lets you switch proxy configurations with one click instead of digging through your browser's network settings every time.
Both methods in this article rely on routing browser traffic through an intercepting proxy, and each method uses a different port. Postman's built-in proxy listens on 5555, mitmproxy listens on 8080. Switching between them through Firefox settings gets tiring after some time, so FoxyProxy makes the process faster.
Setting It Up in Kali
Install FoxyProxy Standard from the Firefox add-ons store, then add two proxy entries:
- Title Postman, type HTTP, host 127.0.0.1, port 5555
- Title mitmproxy, type HTTP, host 127.0.0.1, port 8080
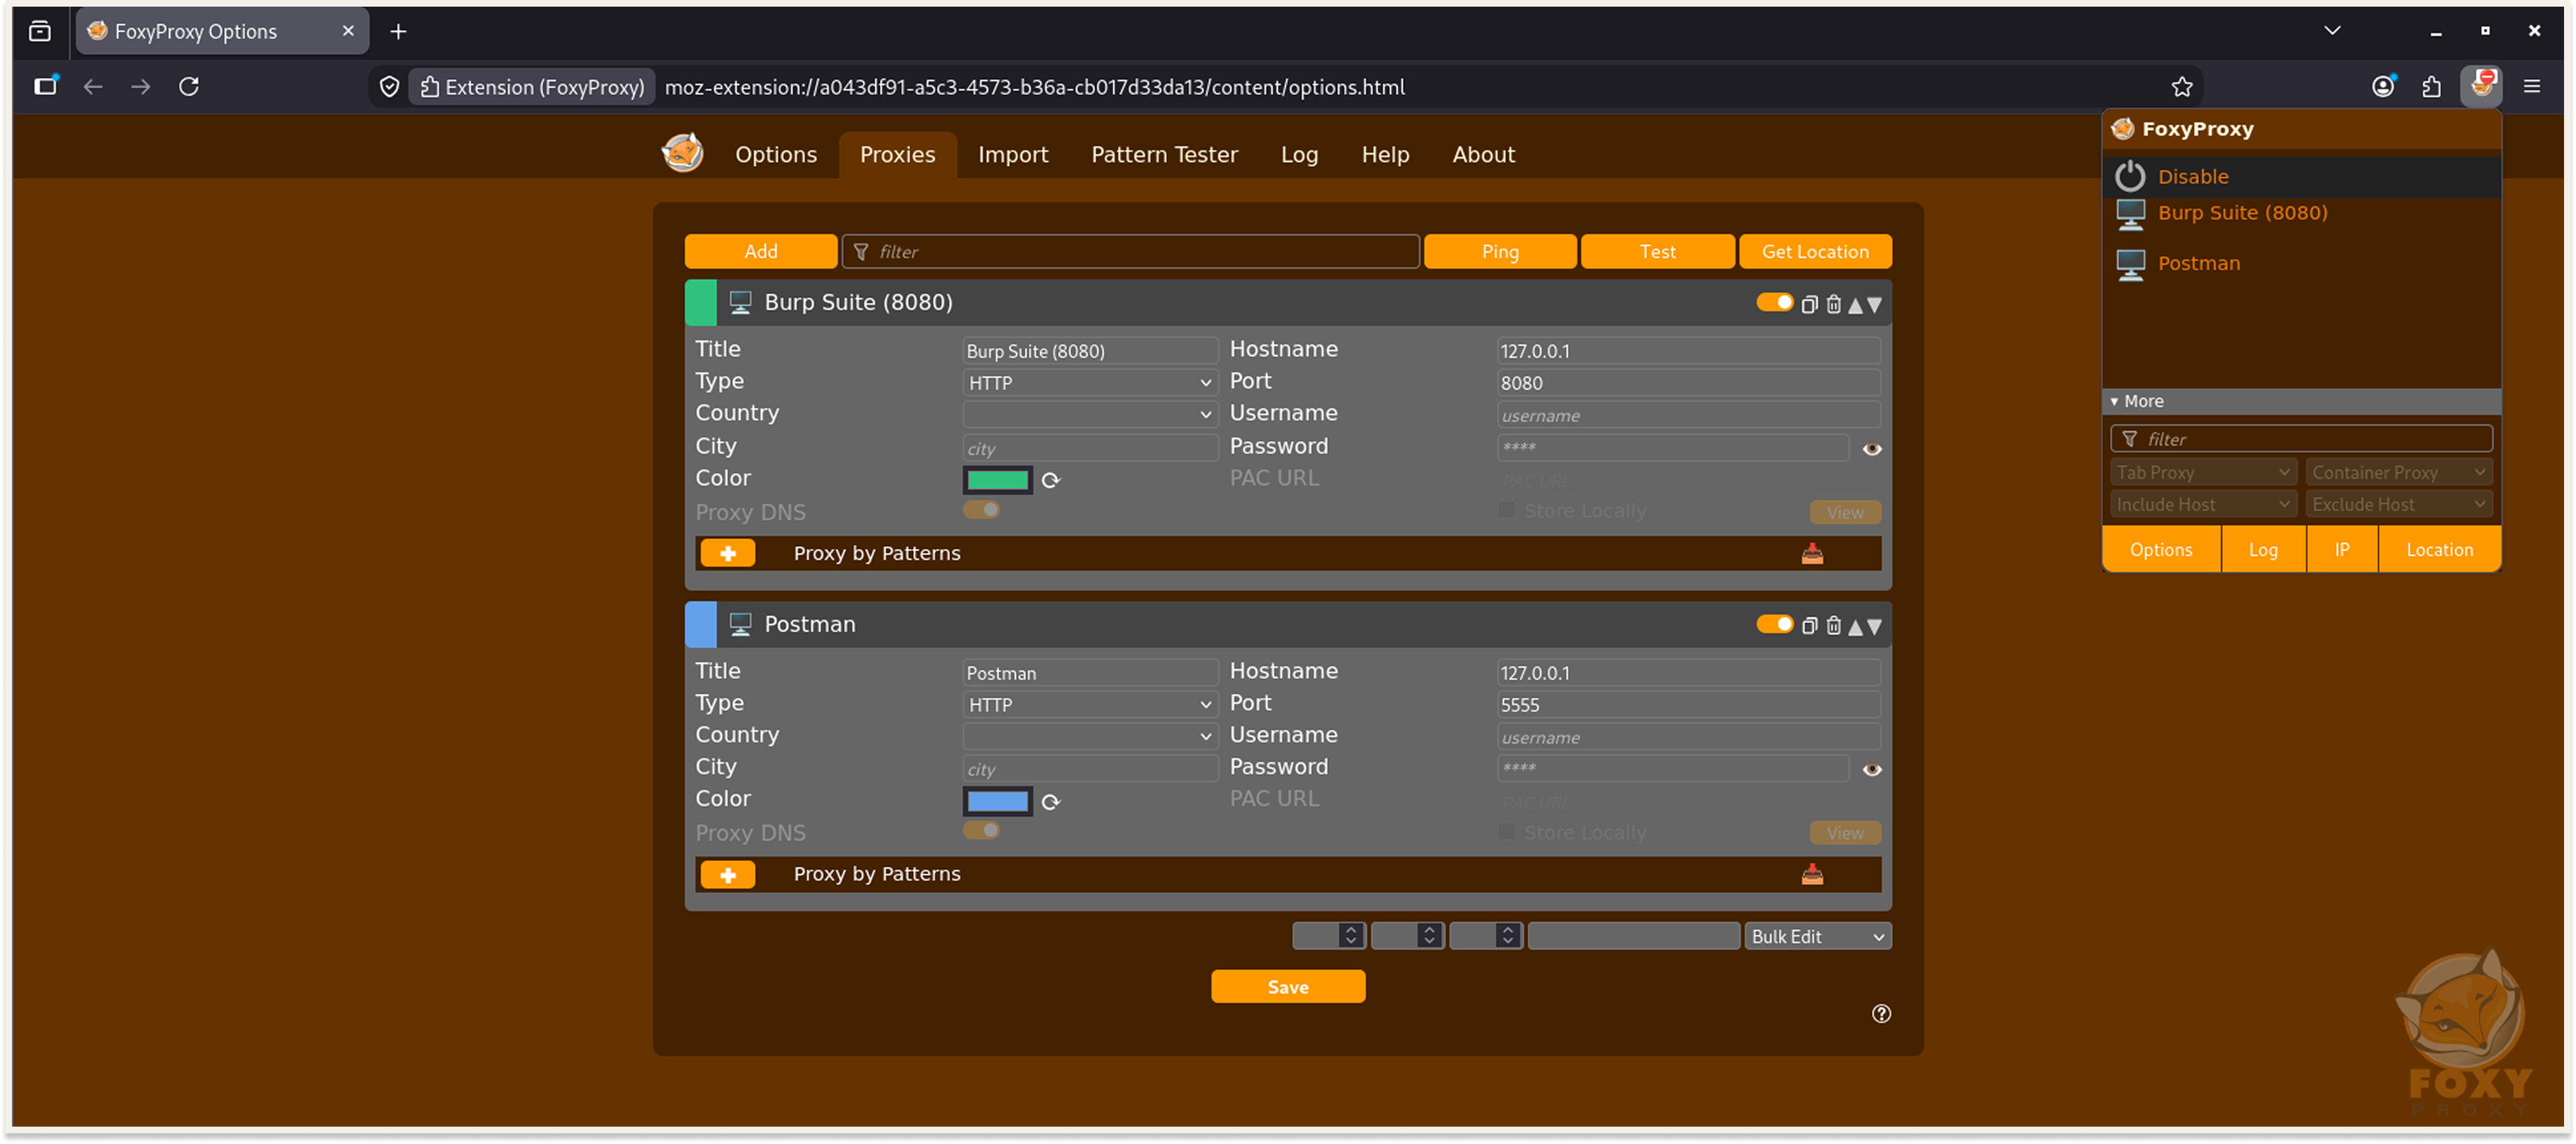
Save both. You now switch capture tools from the toolbar icon.
You might need to adjust your browser settings
I set FoxyProxy up correctly, switched it on, started browsing crAPI, and my proxy stayed empty. The application worked perfectly in the browser; pages loaded, logins succeeded, and the capture window didn’t capture any traffic. My first assumption was that I had misconfigured FoxyProxy, so I deleted the entry and rebuilt it. Same result. Then I assumed the proxy had not started, so I restarted it. Still nothing.
The problem was neither of those. crAPI runs on localhost, and Firefox does not proxy localhost traffic. Since Firefox 67, there is a preference called network.proxy.allow_hijacking_localhost that defaults to false. When it is false, the browser bypasses your proxy for anything on localhost or 127.0.0.1 and connects directly. It is a sensible default for developers running a local dev server. It is a wall if the thing you are trying to intercept is the local dev server.
Nothing in the FoxyProxy interface tells you this is happening. There is no error or warning, and definitely no dropped connection. The traffic simply goes around you.
How I fixed it
- Open a new tab and go to about:config
- Accept the warning
- Search for network.proxy.allow_hijacking_localhost
- Toggle it from false to true
That is the whole fix. I reloaded crAPI, and the requests started landing in the proxy immediately.
While you are in the proxy settings, check the No proxy for exceptions box under Firefox's manual proxy configuration, too, because localhost and 127.0.0.1 are in there by default and will do the same thing to you for the same reason. Clear it.
Tip: Leave FoxyProxy on "Disabled" between captures. Once localhost hijacking is on and your proxy is not running, every local page in that browser will fail rather than fall back.
1.4 Postman
Postman is an API client used to build, send and organize HTTP requests. Most people know it as the tool you send requests from. Fewer people use the part I needed here: it has a built-in proxy that can sit in front of your browser and record traffic straight into a collection.
For Method 1, Postman is both the capture tool and the destination. The traffic it records becomes a collection I can immediately start testing from. For Method 2, it is only the destination, because I import the finished specification into it.
Setting It Up in Kali
sudo snap install postman
If you do not use snap, download the Linux tarball from postman.com, extract it, and link the binary:
tar -xzf postman-linux-x64.tar.gz -C /opt/
sudo ln -s /opt/Postman/Postman /usr/bin/postman
1.5 mitmproxy and mitmweb
mitmproxy is an interactive HTTPS proxy. The package ships three binaries: mitmproxy, an interactive terminal interface, mitmdump, which the docs describe as tcpdump for HTTP, and mitmweb, which gives you the same proxy with a browser-based interface.
mitmweb is the one I want here for two reasons. The web interface makes it easy to watch requests land in real time as I click through the application, and more importantly it lets me export the entire captured session as a flow file, which is the input format mitmproxy2swagger expects.
Setting It Up in Kali
sudo apt install -y mitmproxy
mitmweb
The proxy listens on port 8080 by default, and the web interface opens at http://127.0.0.1:8081
Tip: If something else is already listening on 8080 (which on Kali is often Burp), either shut Burp down or run mitmproxy with mitmweb --listen-port 9999 and point your FoxyProxy entry to the new port.
1.6 mitmproxy2swagger
mitmproxy2swagger is a tool by alufers that reads captured traffic and reverse engineers an OpenAPI 3.0 specification out of it. It groups requests into paths, detects path parameters, and infers the response schema from the JSON that came back.
This is the tool that turns a pile of requests into the openapi document.
Setting It Up in Kali
Kali's system Python is externally managed, so a plain pip install won't run. Use pipx:
            sudo apt install -y pipx
pipx ensurepath
pipx install mitmproxy2swagger
mitmproxy2swagger --help
Open a new terminal after pipx ensurepath so the PATH change takes effect. The package is also on PyPI if you prefer to manage it another way.
Method 1: Capturing With the Postman Built-In Proxy
This is the method I tried first. It is also the reason I went looking for a better one.
Postman starts a proxy on a local port. You point your browser at it, browse the application, and every request the browser makes gets recorded into a Postman collection. No specification is generated, but you end up with a folder of real requests you can replay and tamper with.
Step by Step
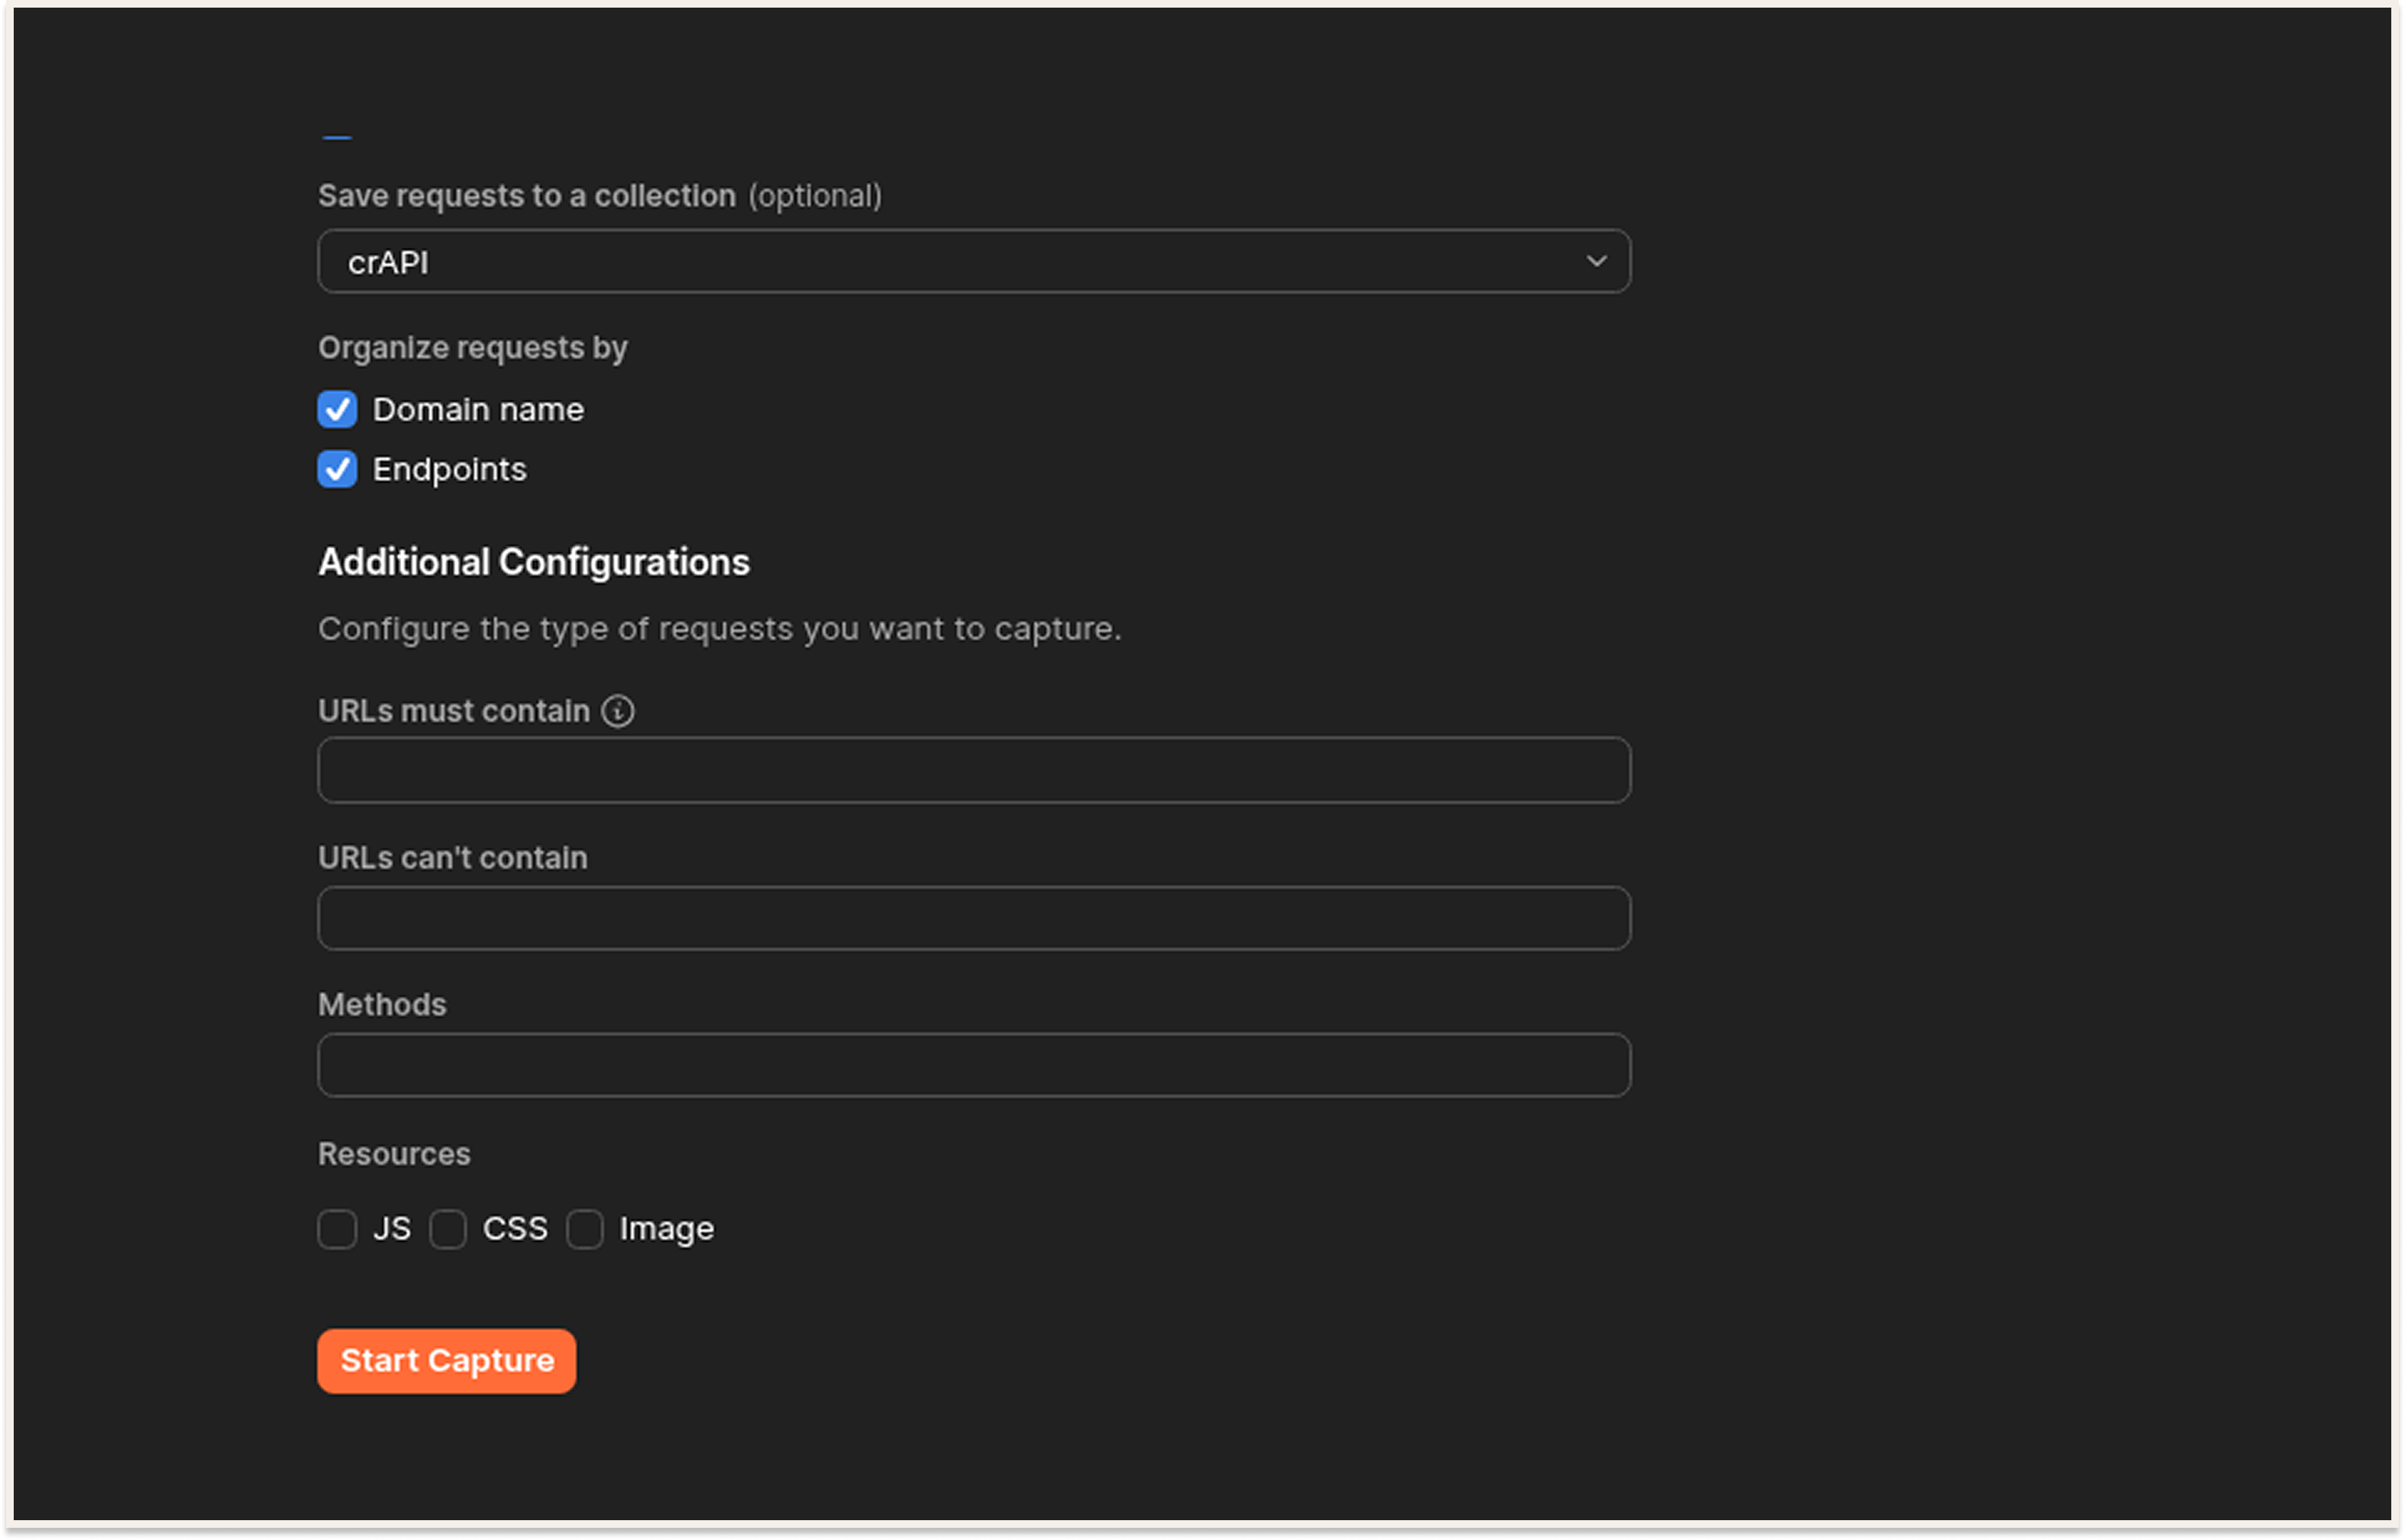
- Open Postman and create a new collection. Name it something you will recognize later. This is where captured traffic will be saved
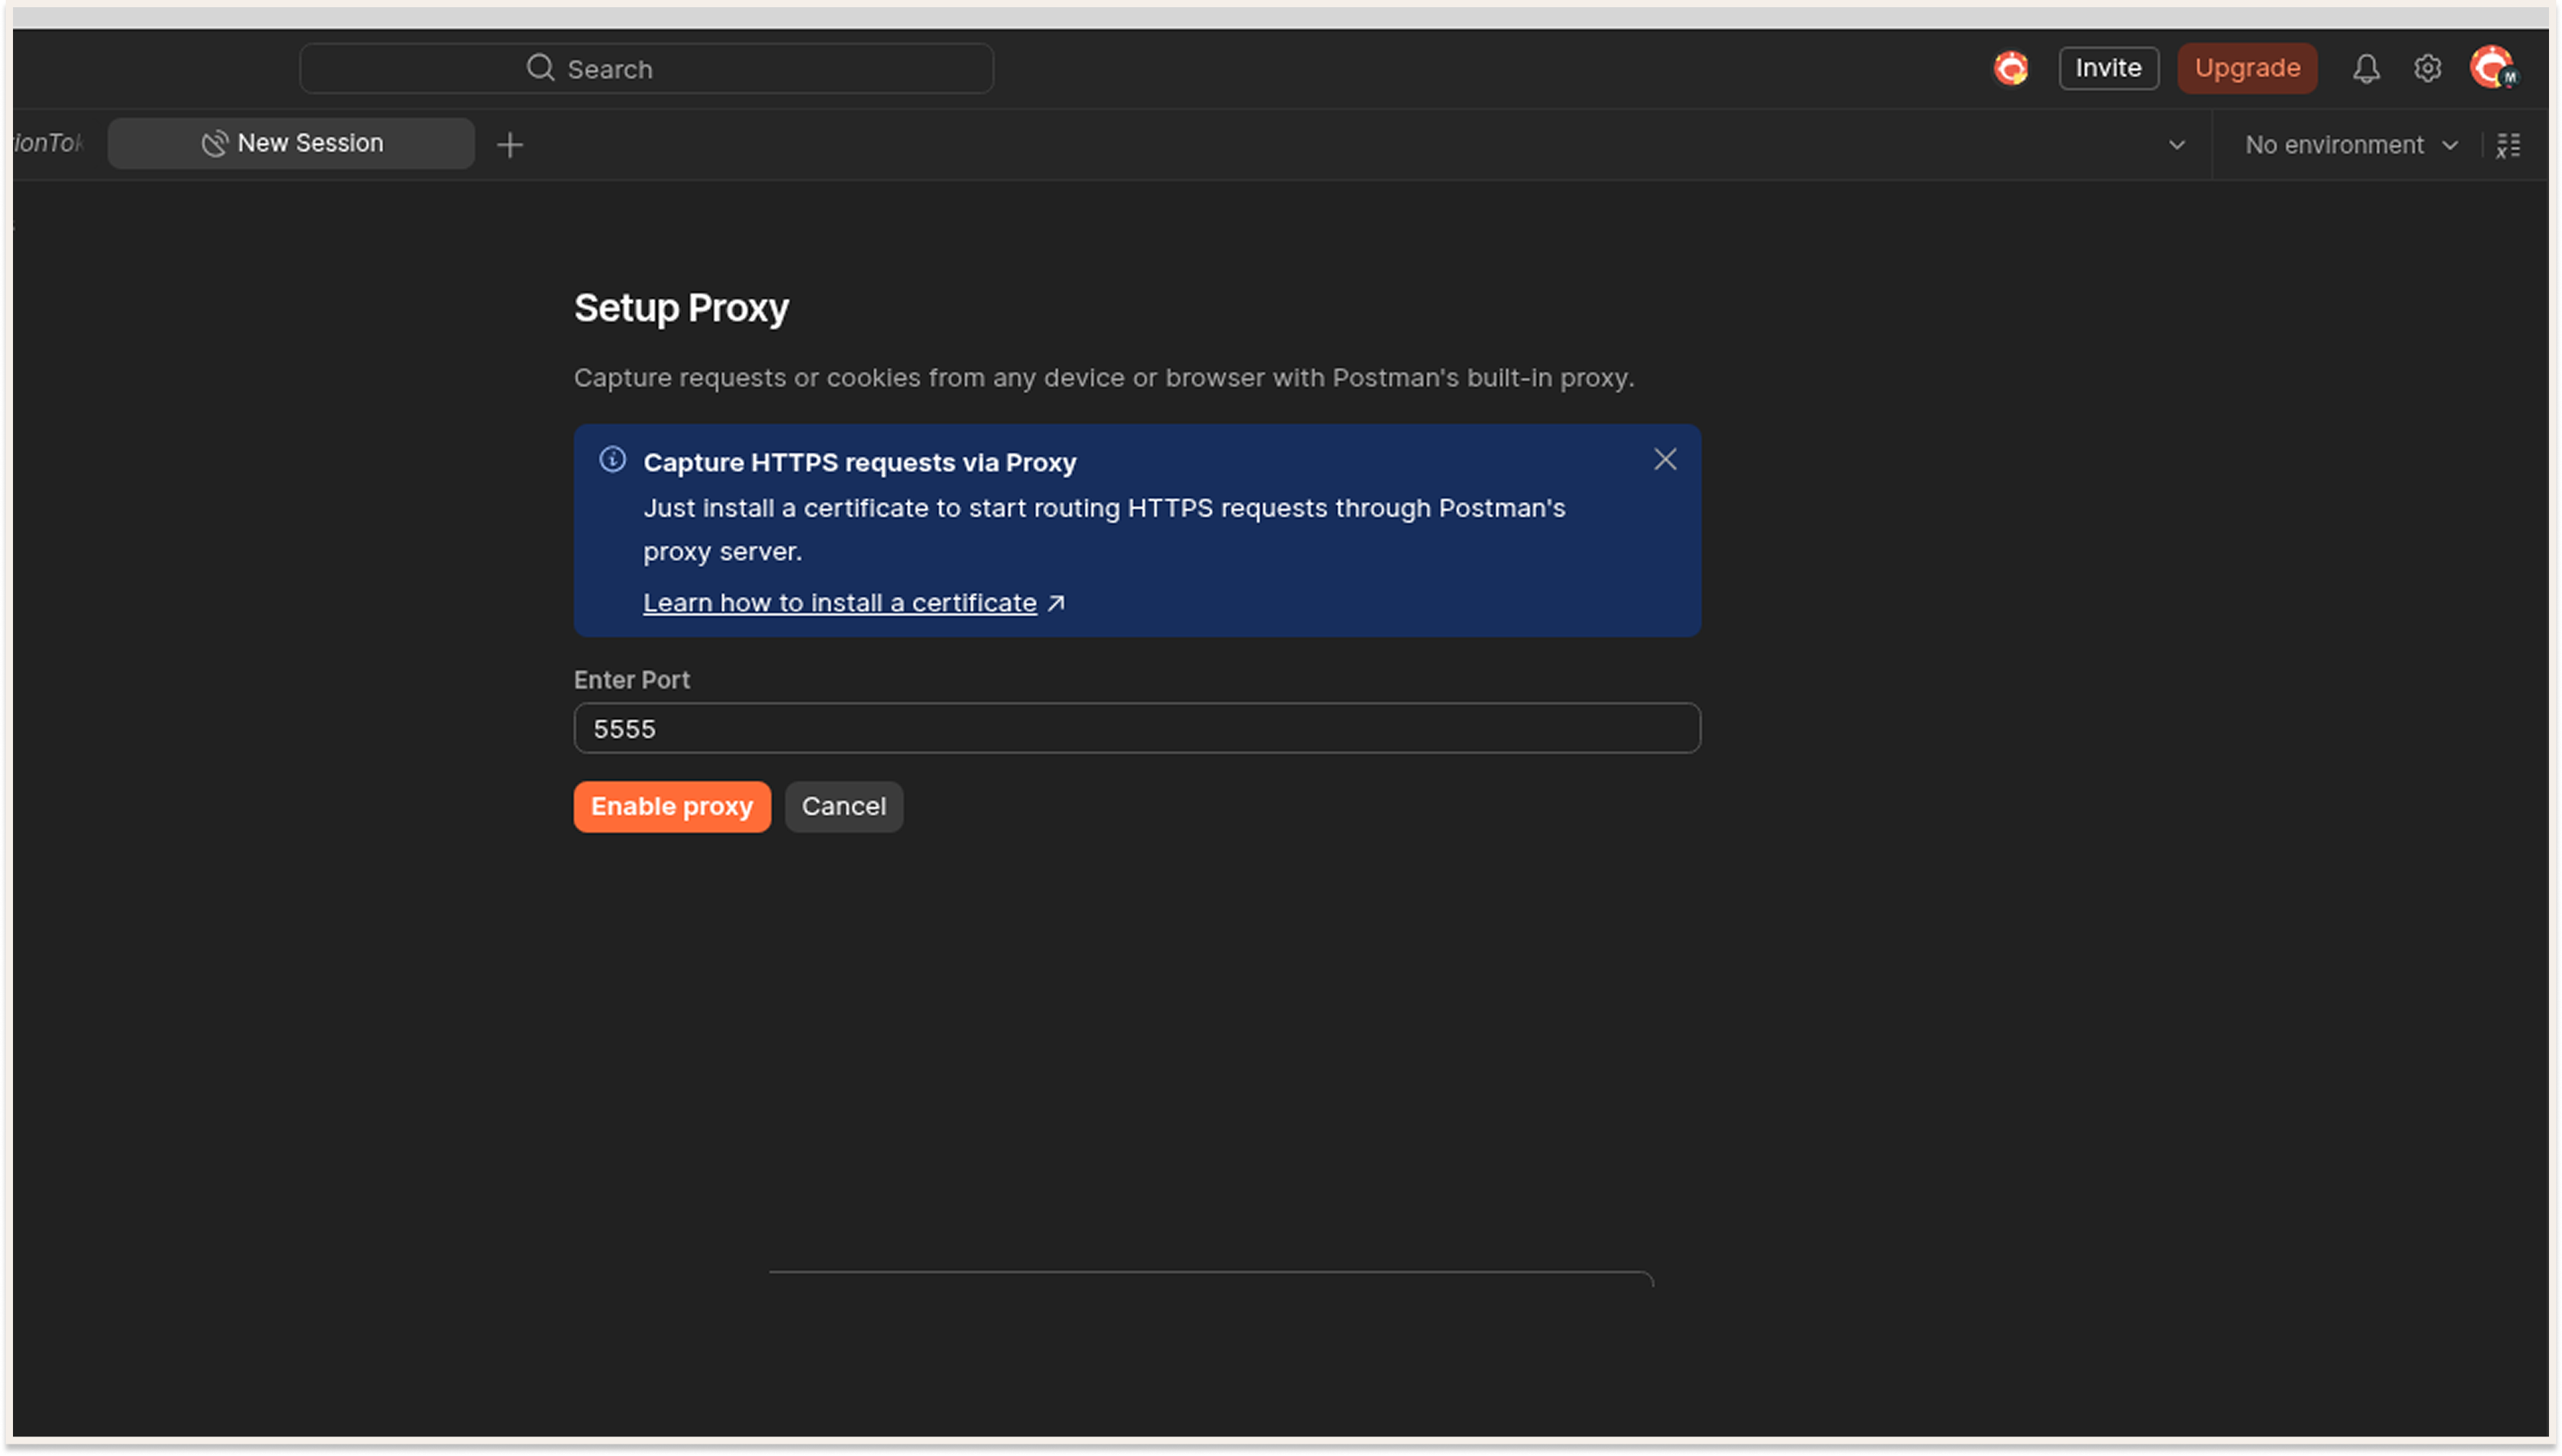
- Go to Tools > Proxy and open the capture settings. Set the port to 5555
- Set the URL filter to the target so you are not recording every unrelated tab you have open. For crAPI, that is 127.0.0.1:8888
- Point the capture at the collection you created in step 1
- Switch FoxyProxy to the Postman entry so the browser routes through 127.0.0.1:5555. If nothing shows up in the capture window, go back to section 1.3. This is the localhost problem.
- Hit Start Capture
- Now go and use the application. Properly. Log in, open the dashboard, view your profile, change your email, add a vehicle, submit a service request, post in the community forum, open other users' posts, contact a mechanic, and upload a picture. Every feature you do not click is an endpoint you will not capture
- Stop the capture when you have exhausted the interface.
- Go through the recorded requests and select the ones with /api in the path. The rest is CSS, fonts, images, and favicon noise
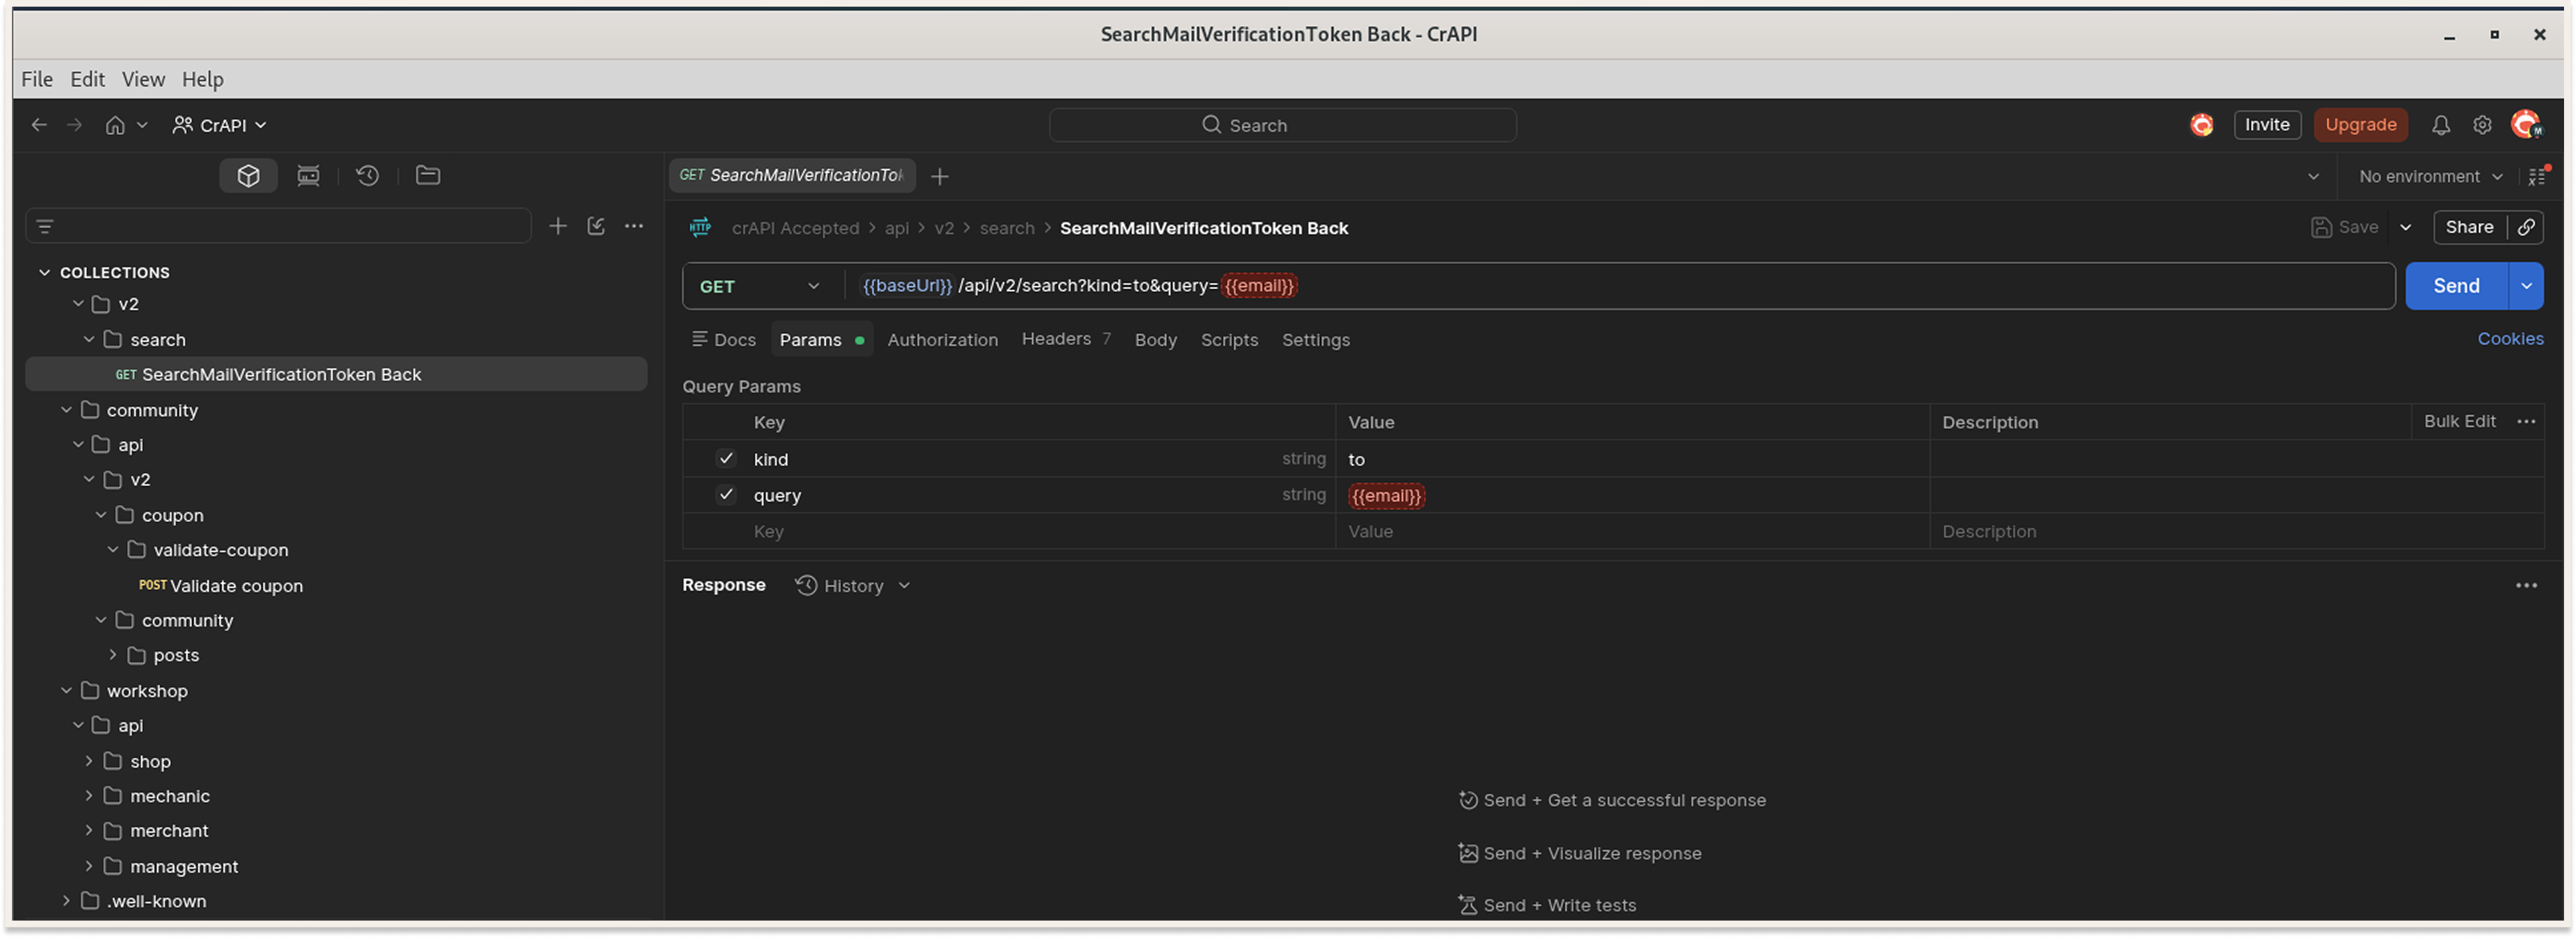
- Build a collection from the selected requests and save
- Start interacting with it. You now have replayable requests with headers and tokens
Result: A Postman collection containing authenticated requests against crAPI, ready to tamper with.
This process was particularly long and tedious for me. This is not a complaint about Postman, though (I love using Postman, just not for this purpose)
The capture records everything the browser does, and manually picking out API calls from static asset traffic is slow and error-prone. You also end up with a flat list of requests rather than a structured document. There is no schema, no parameter definition, which I didn’t like.
The APIsec University API Penetration Testing course covers this workflow for crAPI in detail. If you want the full walkthrough, it is in their materials here.
Method 2: mitmweb and mitmproxy2swagger
This is the method I prefer.
Instead of recording to a client, you record to a flow file, and then a converter reads the flow file and writes an OpenAPI document. The conversion runs in two passes: the first pass lists every path it finds and comments them out; you decide which ones belong in the spec, and the second pass builds the full schema from only the ones you keep.
Step by Step
- Start the proxy: mitmweb
The web interface opens at http://127.0.0.1:8081, and the proxy listens on 8080
- Switch FoxyProxy to the mitmproxy entry, port 8080
- Go through the app like a normal user, capturing all the requests and interacting with the application. Same discipline as before: log in, walk every page, trigger every feature, submit every form. Watch the request list fill up in the MitmWeb interface as you go; it is a useful sanity check that you are actually capturing
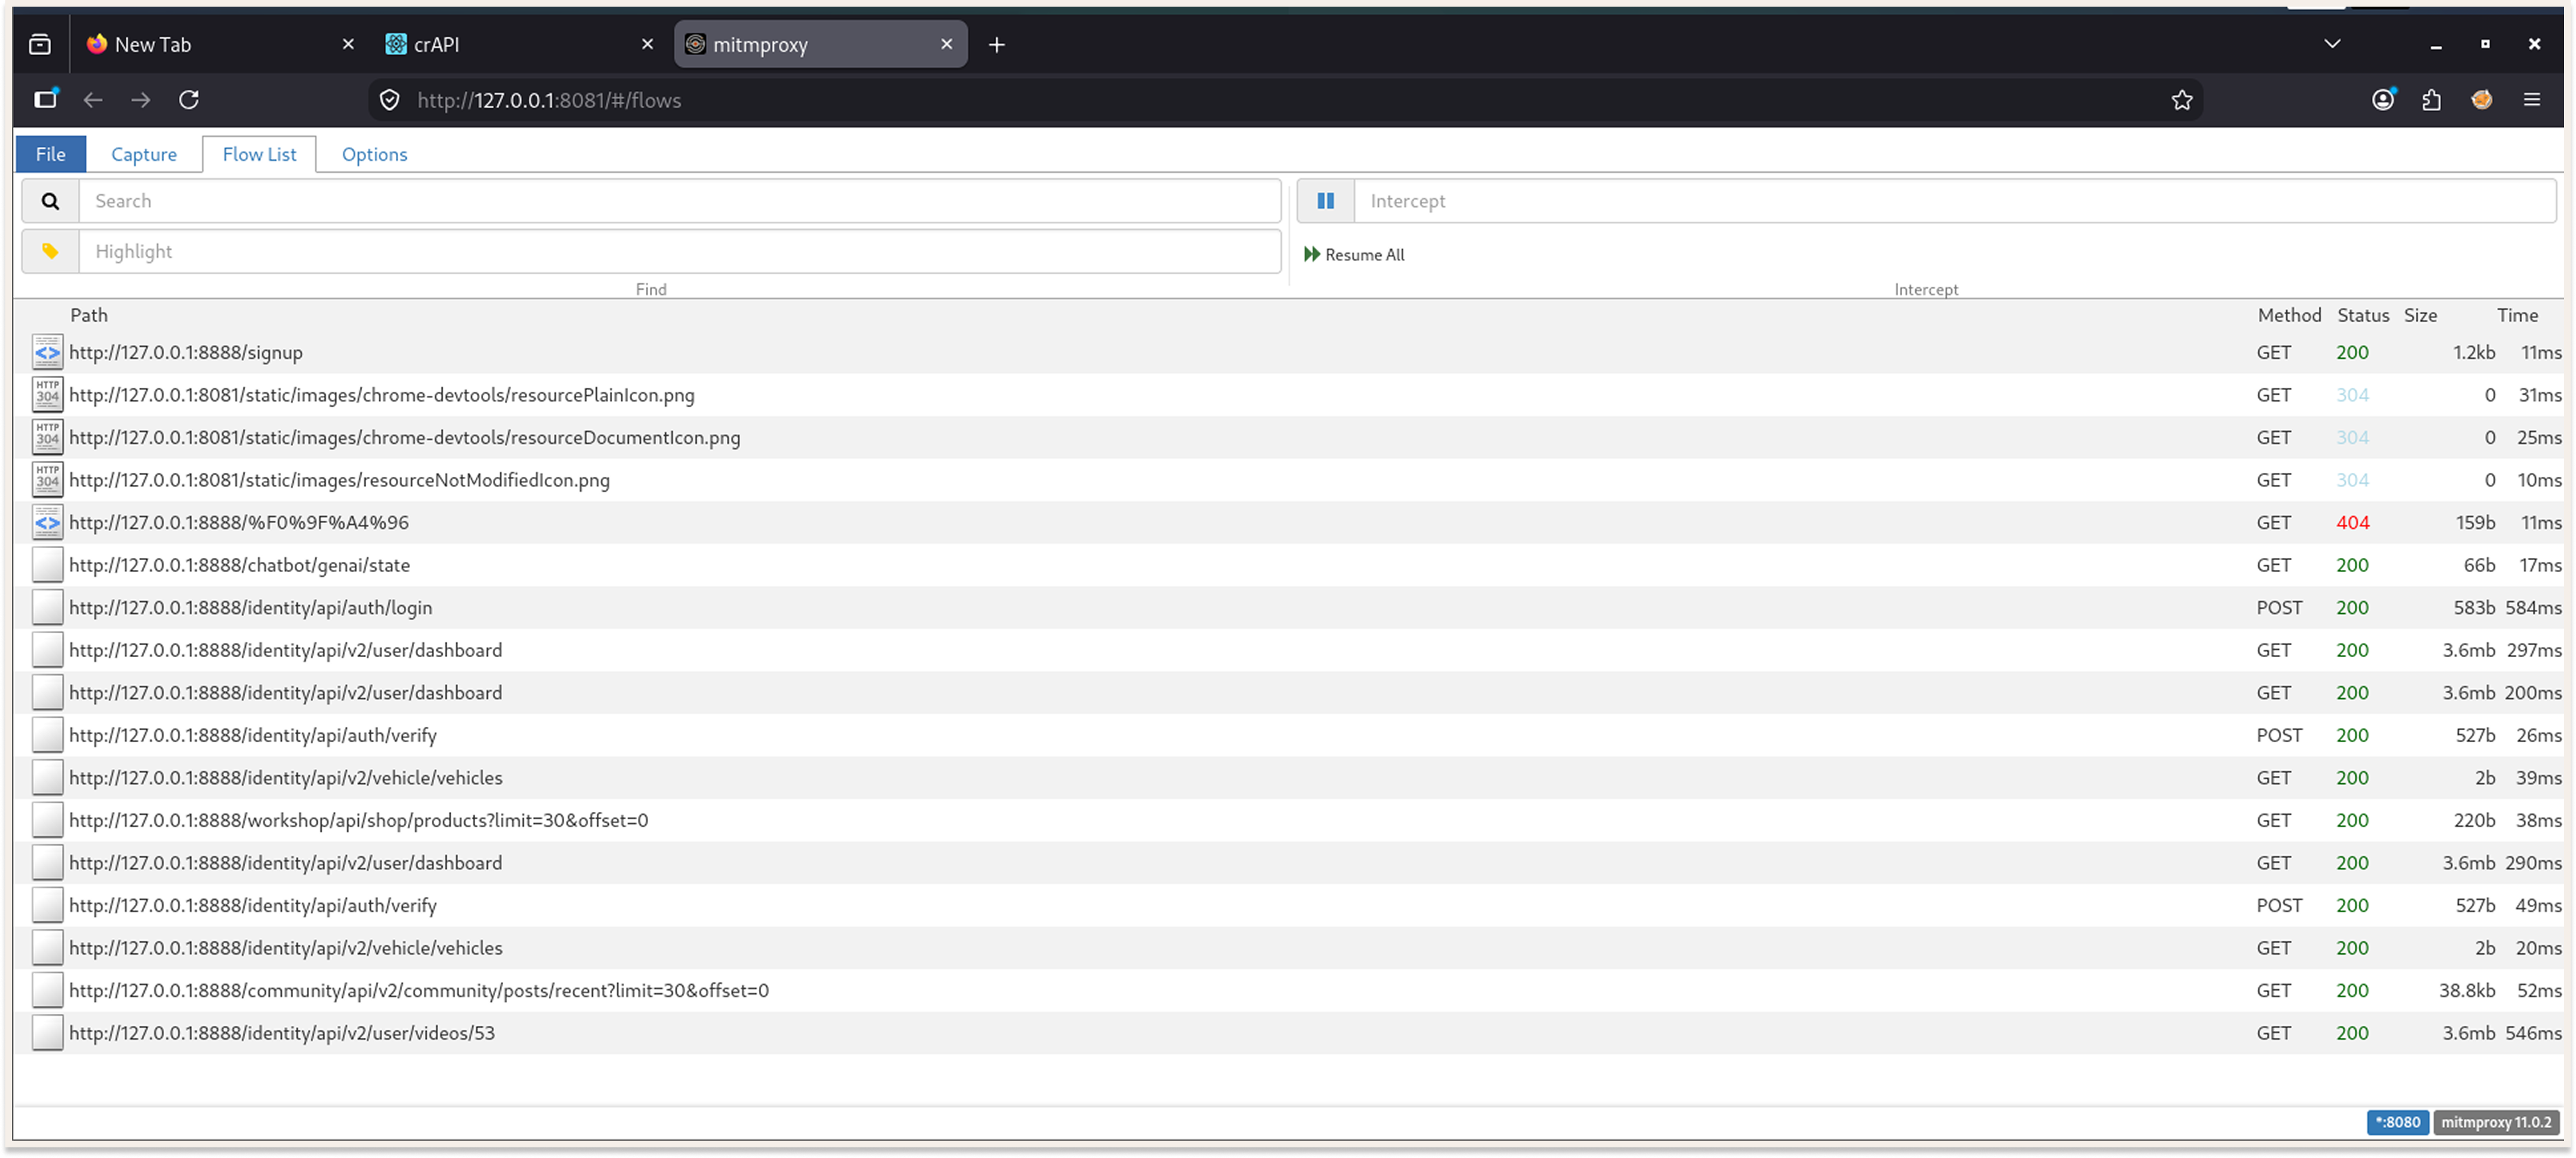
- In the mitmweb interface, download the flows file using the save option
- Stop listening. Once you have the flow file, kill mitmweb and switch FoxyProxy back to disabled
- Run the first pass:
mitmproxy2swagger -i ~/Downloads/flows -o spec.yml -p http://127.0.0.1:8888 -f flow
What each flag does:
-i is the input flow file,
-o is the output specification,
-p is the base URL of the API being reverse-engineered, and
-f flow tells the tool the input is a mitmproxy flow file rather than a HAR
- Open and edit the .yml file, removing the ignore: prefix from all API-related requests. This is the step that matters. The first pass writes every detected path to the file with an "ignore:" prefix, meaning "not part of the spec". Anything still carrying that prefix gets skipped. So you go through the list and strip ignore: from the real API paths, /identity/api/v2/user/dashboard, /identity/api/auth/login, /workshop/api/shop/products, and so on, while leaving it on the static assets and anything that is not part of the API
- Save the file
- Run again, exactly the same command: mitmproxy2swagger -i ~/Downloads/flows -o spec.yml -p http://127.0.0.1:8888 -f flow
This second pass reads your edits and builds out the endpoint definitions, response codes, and inferred schemas for everything you un-ignored.
- Add the example flag at the end to populate the spec with real request and response bodies from the capture: mitmproxy2swagger -i ~/Downloads/flows -o spec.yml -p http://127.0.0.1:8888 -f flow --examples
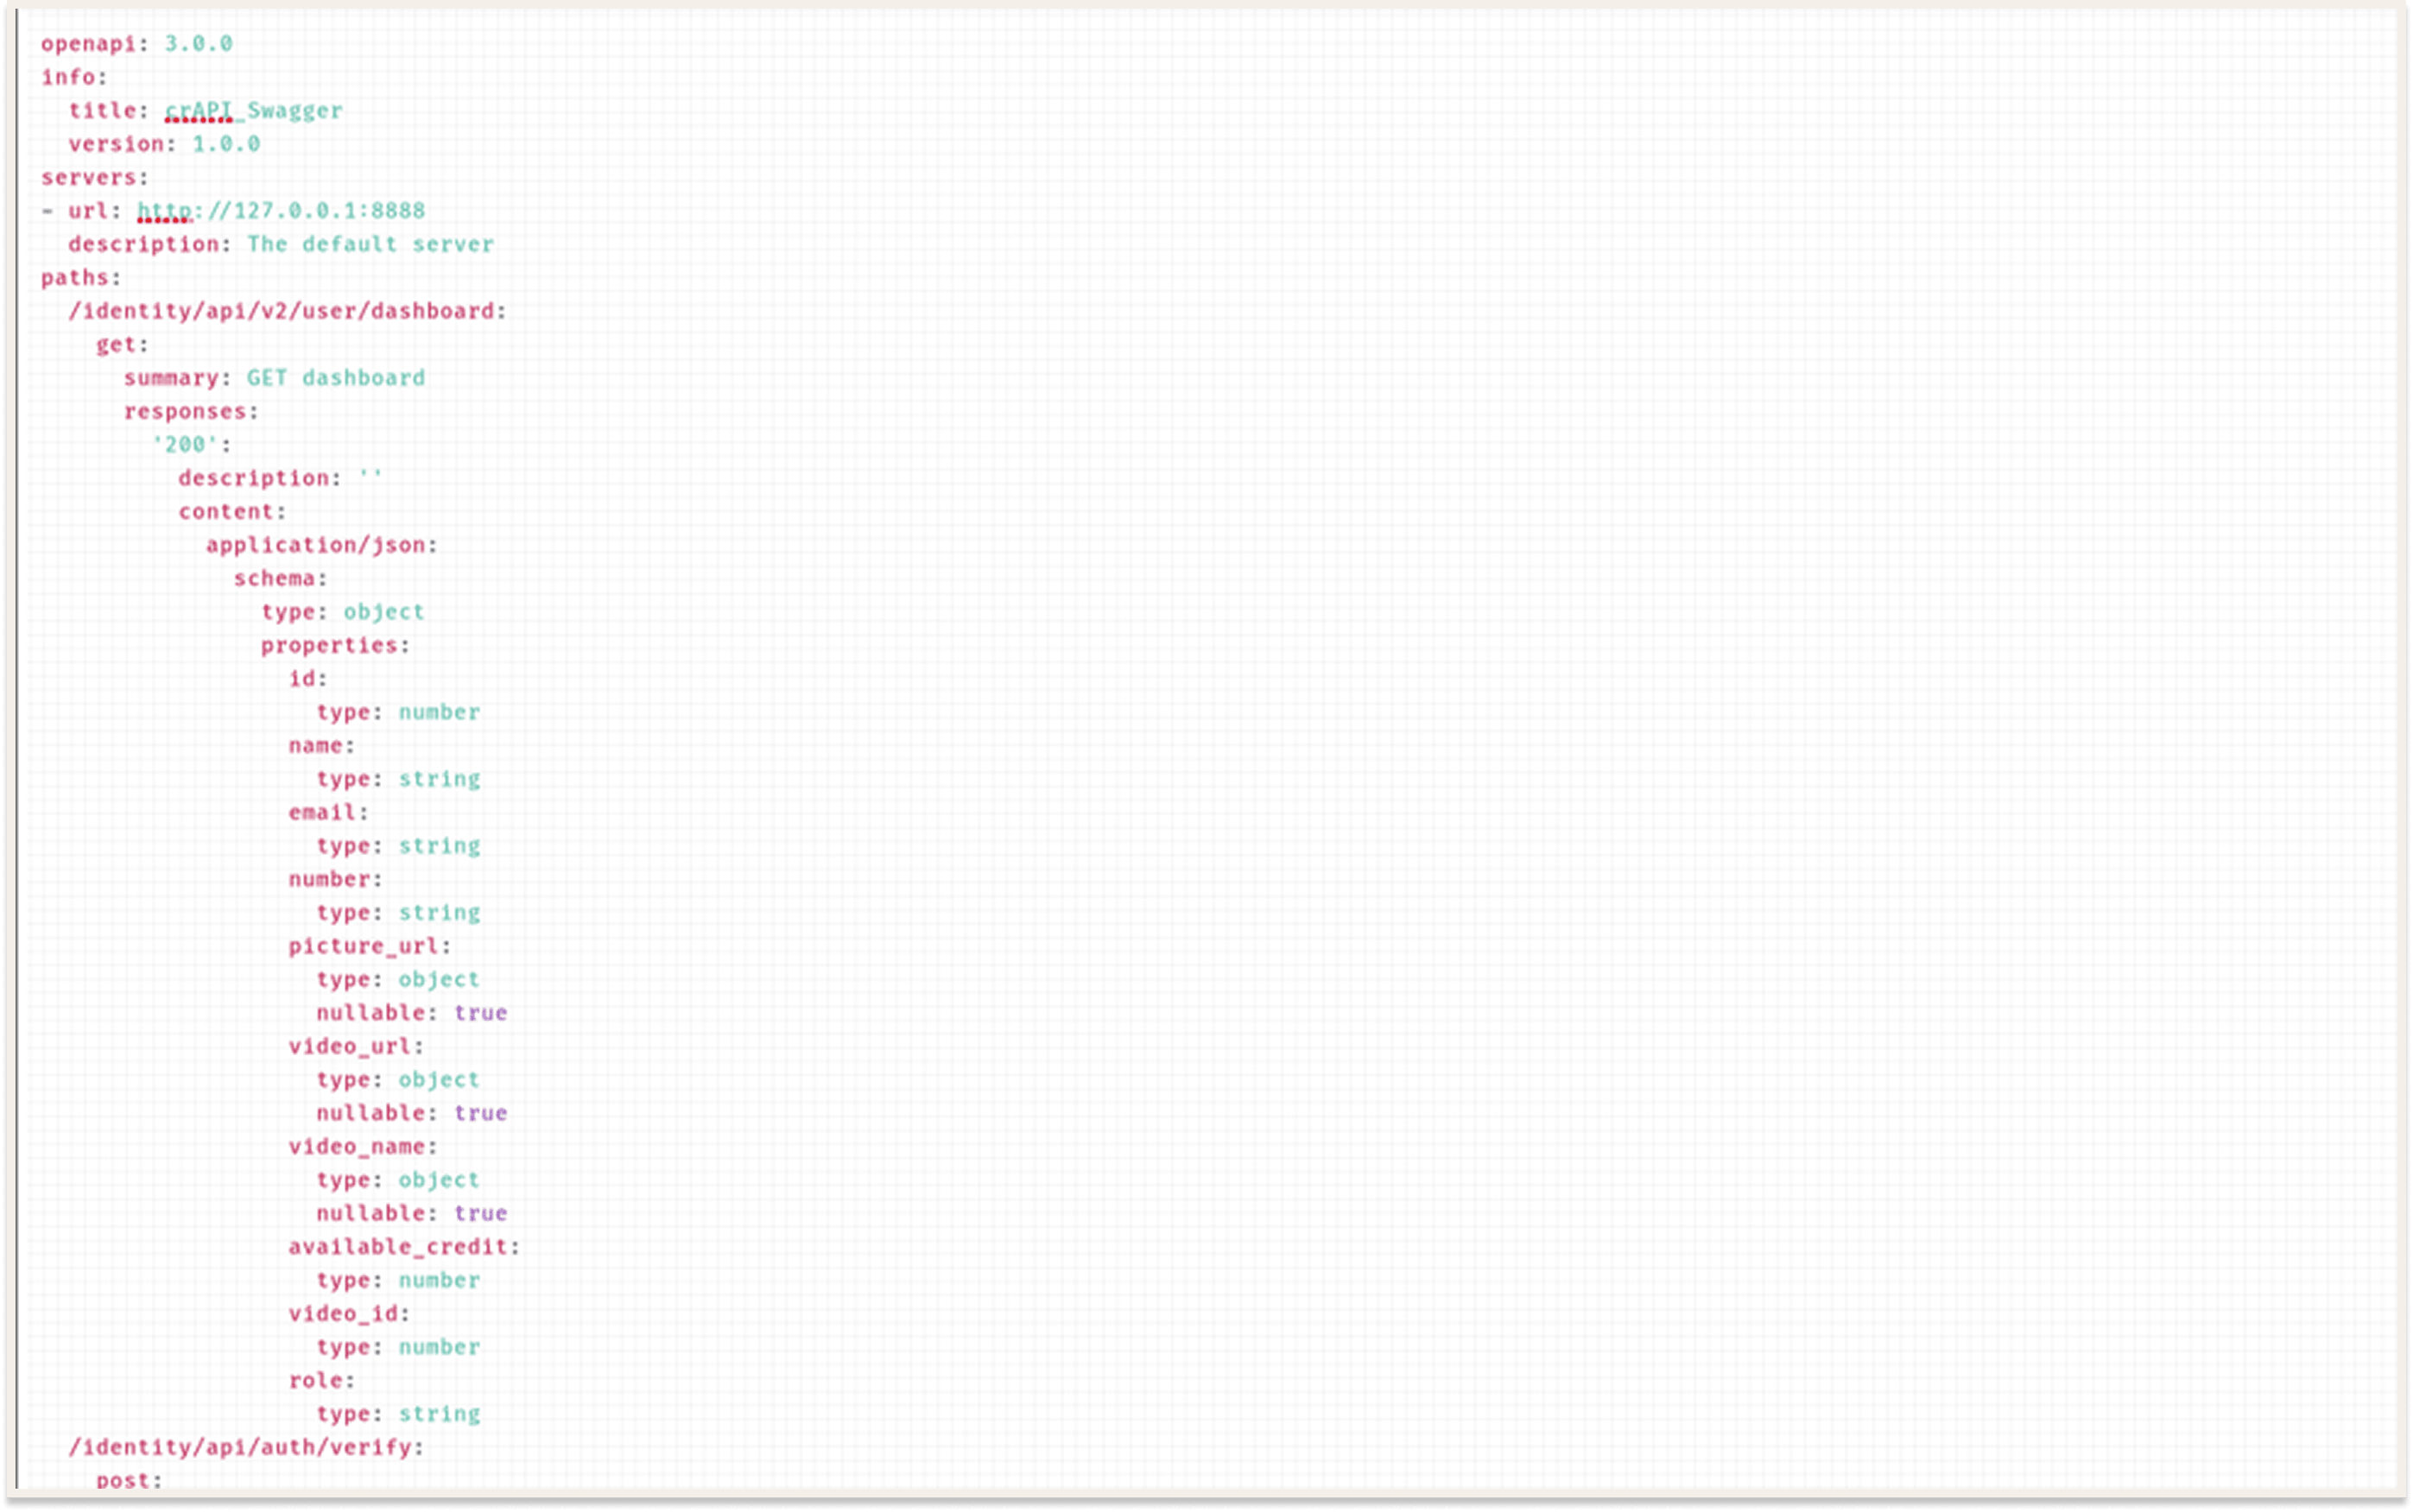
Tip: --examples embed real captured data into the document, which is excellent for testing. There is also a --headers flag that does the same for headers. Both will bake your bearer tokens and your email address into the file, so be careful if you commit that spec anywhere public. If you want a reminder of how much a token reveals once someone has it, I have written an article about it here: "JSON Web Tokens: Anatomy of a Break and Fix"
- Open a Swagger editor and import the file to see it
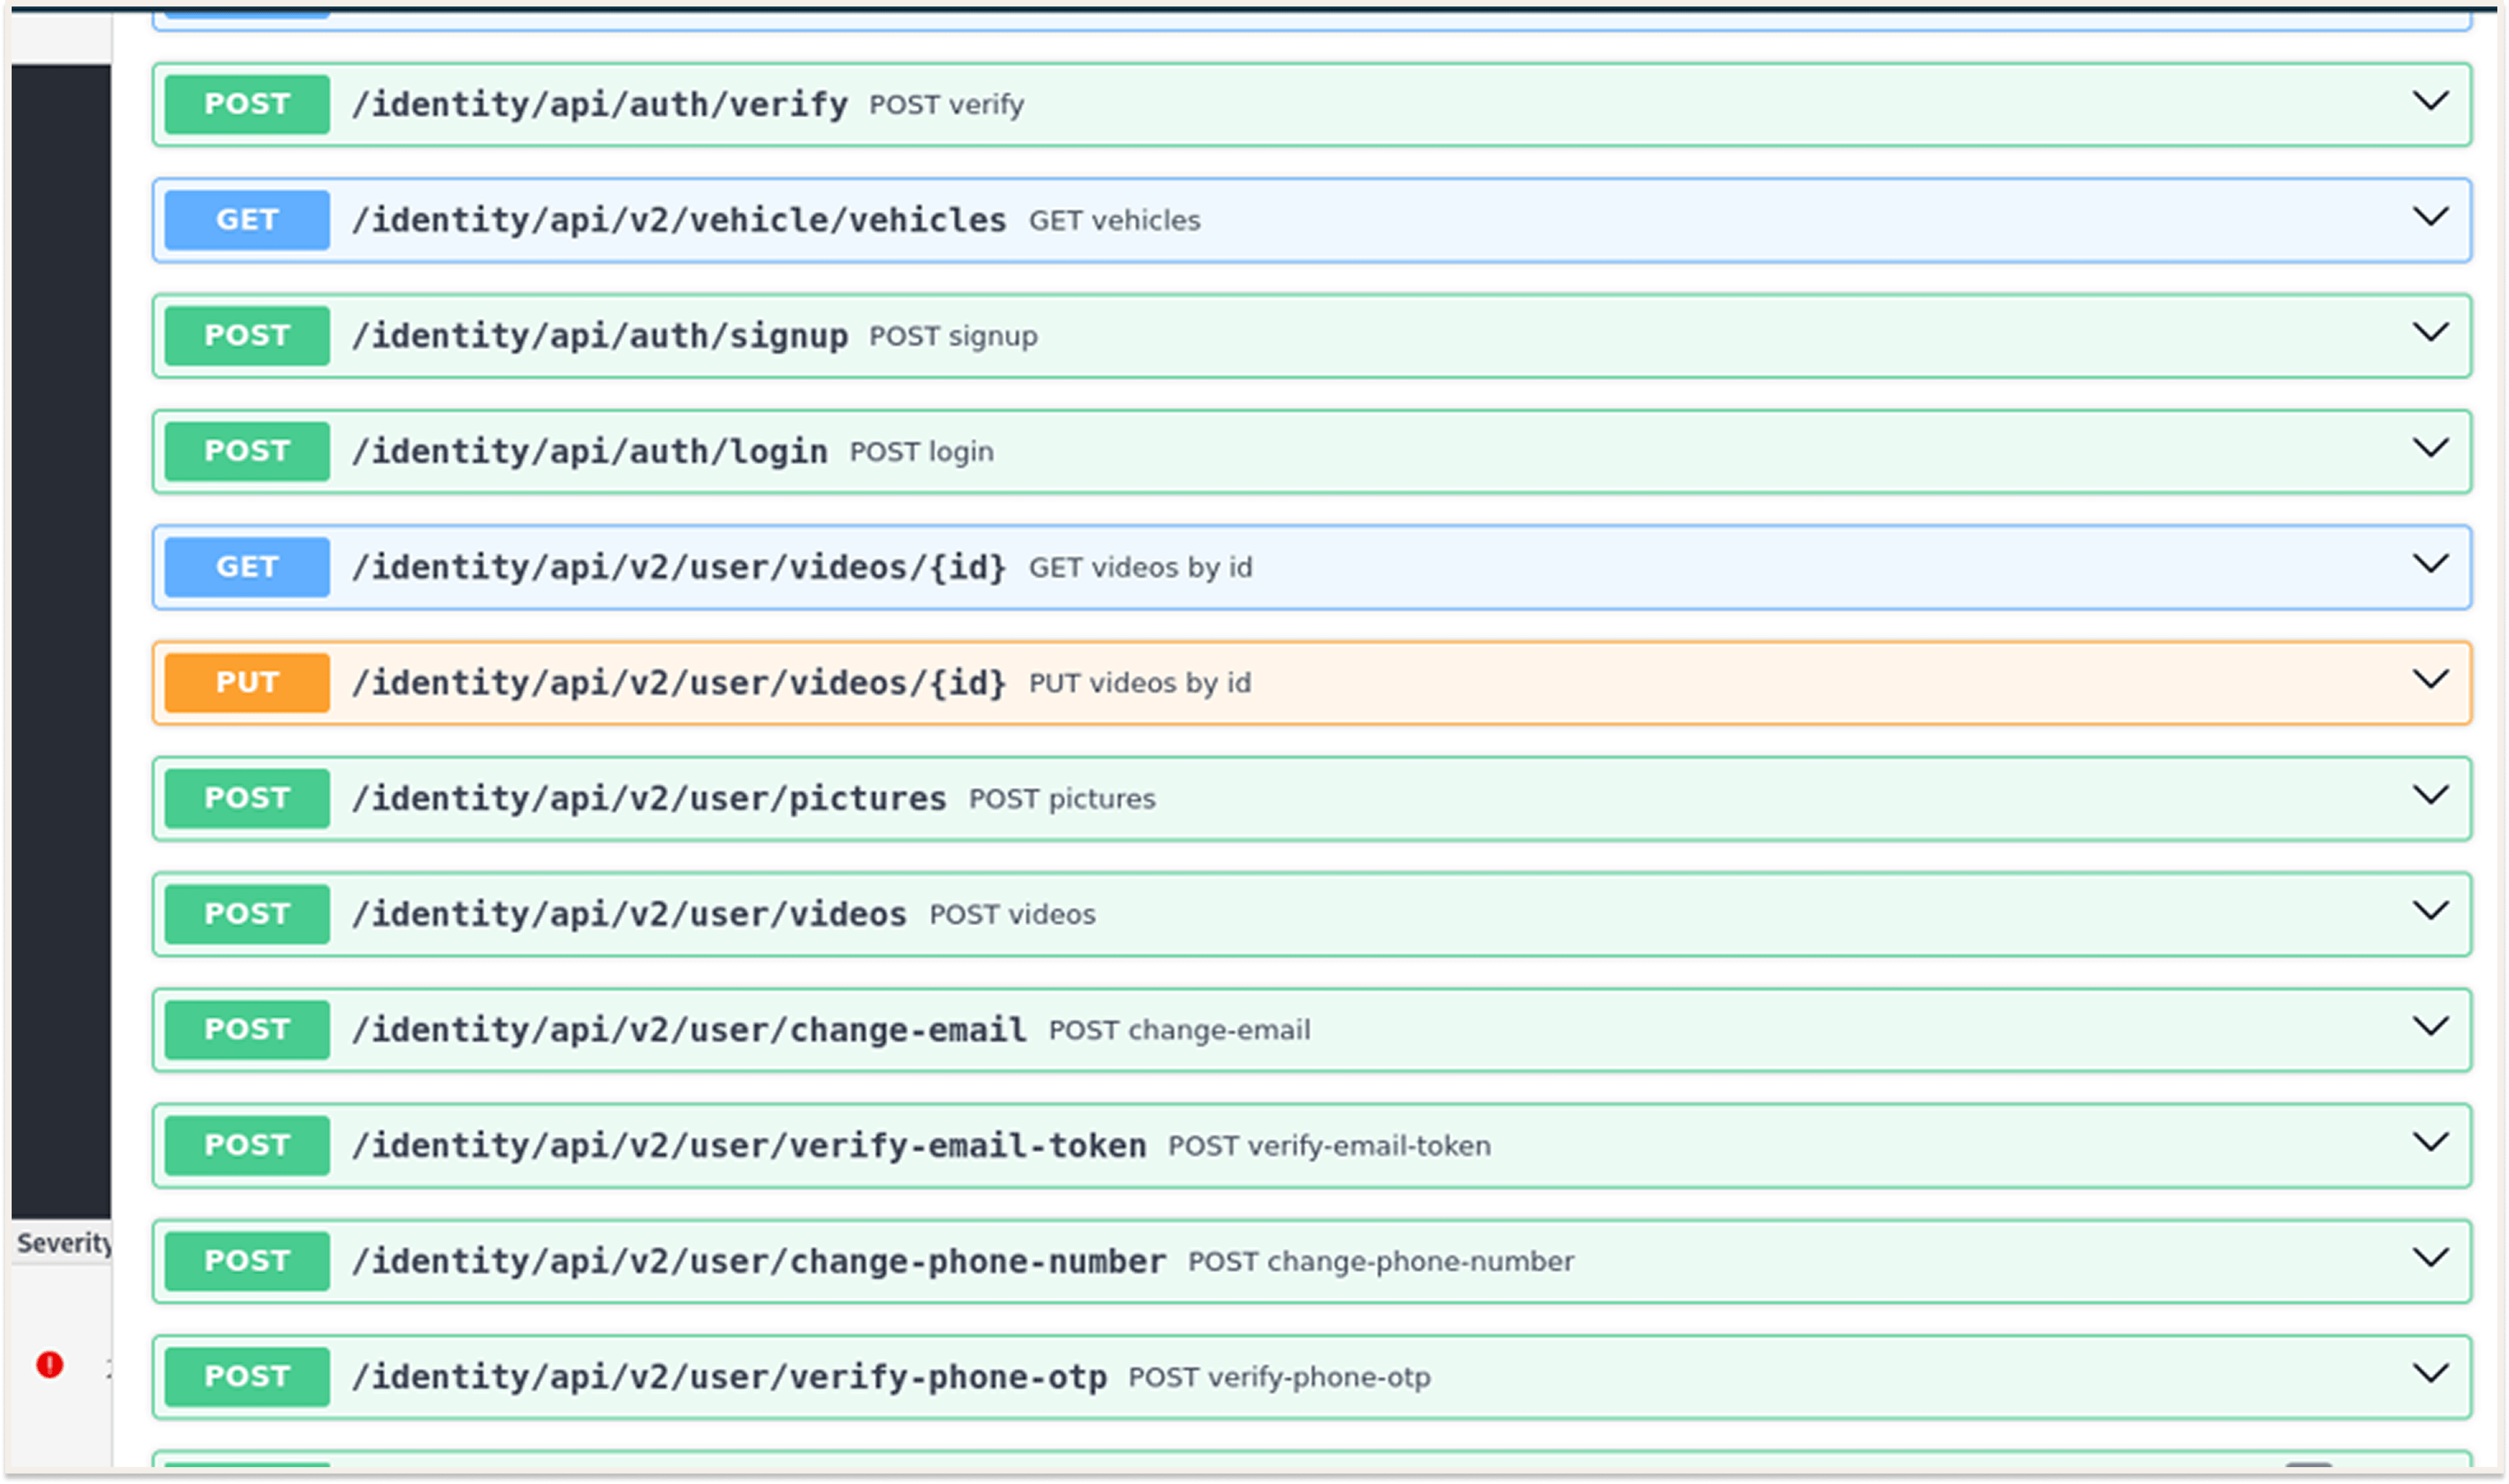
Notice /identity/api/v2/user/videos/{id}. The tool figured out on its own that the number in that path was a parameter, not part of the path, which is exactly the kind of thing you want a spec to tell you before you start testing for BOLA. That is the same class of flaw I used to retrieve other customers' records out of a banking API in Hacking Vulnerable Bank API Part 1
- Upload and start hacking in Postman: Import spec.yml into Postman, and it expands into a properly nested collection: identity, api, v2, user, and then every endpoint underneath in its own folder
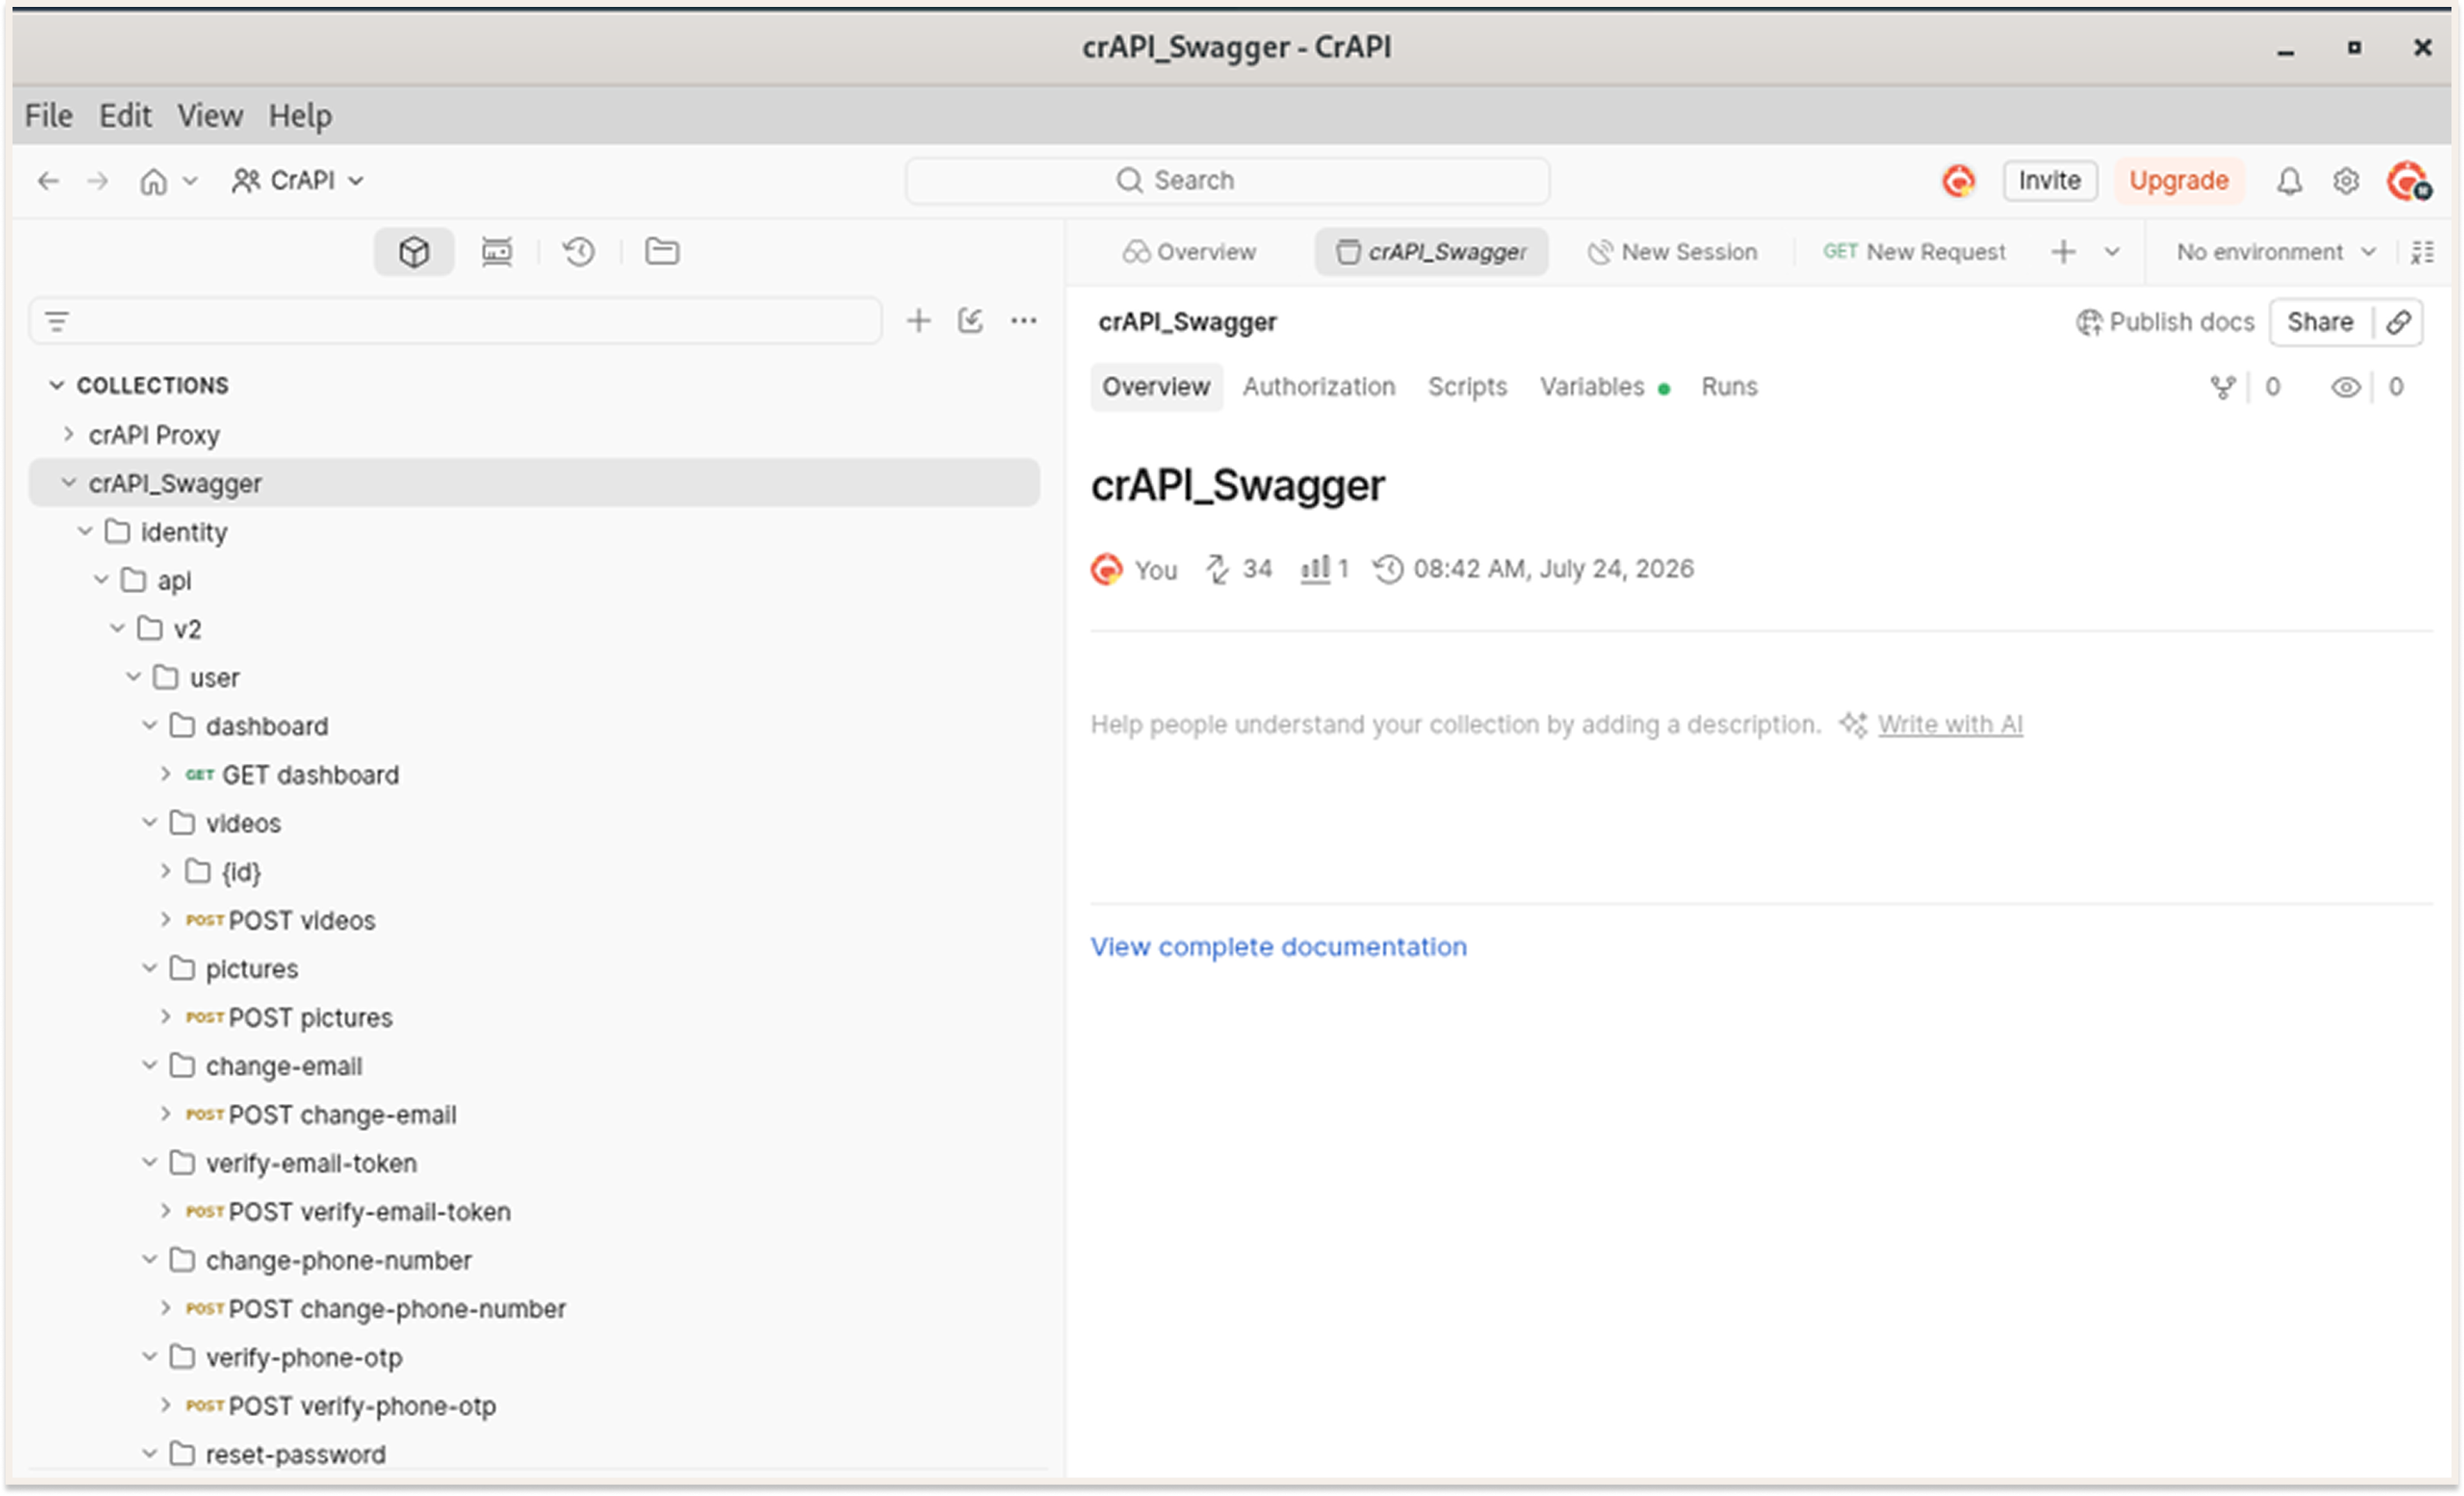
Though it is not fully automatic, the manual step is the one that decides everything. The ignore: editing pass in step 7 is where your spec is written, and if you strip the prefix off too little, you get an incomplete document that looks authoritative. That is arguably worse than no document at all, because you will trust it.
The other limitation is inherent to the whole approach. The spec can only ever describe what you clicked. An admin panel you never logged into, a mobile-only endpoint, a v1 route the frontend stopped calling two releases ago, none of that shows up. The reconstructed spec is a map of your session, not a map of the API.
That's it!
See you in the next one!